No Bake Boston Cream Halloween Pie Recipe
If you’re on the hunt for a show-stopping dessert this Halloween that’s both indulgent and effortless, you are going to adore this No Bake Boston Cream Halloween Pie Recipe. Seriously, it’s like all your favorite flavors from a Boston cream pie—chocolate, creamy vanilla pudding, fluffy cake—with a festive Halloween twist, all layered into a luscious no-bake pie. Stick with me here, and I’ll guide you through every silky, crunchy, spooky step to make a pie that’ll wow your family and friends without heating up your kitchen.
Why This Recipe Works
- No-Bake Convenience: Skip the oven and still get that decadent Boston cream taste with effortless layering and chilling.
- Perfect Halloween Presentation: The chocolate bat decorations add playful spooky flair that’s easy enough for even last-minute guests.
- Rich, Balanced Flavors: Creamy pudding, fluffy cake, bittersweet chocolate, and a buttery Oreo crust come together beautifully without overwhelming your palate.
- Customizable Layers: The recipe invites you to adjust textures or colors, making it adaptable for your own twists or other celebrations.

Ingredients & Why They Work
This No Bake Boston Cream Halloween Pie Recipe relies on a few simple but thoughtfully chosen ingredients, each playing a role from texture to flavor to that all-important festive look. Using pre-made elements like Oreo crumbs and instant pudding really speeds things up while still tasting gourmet.
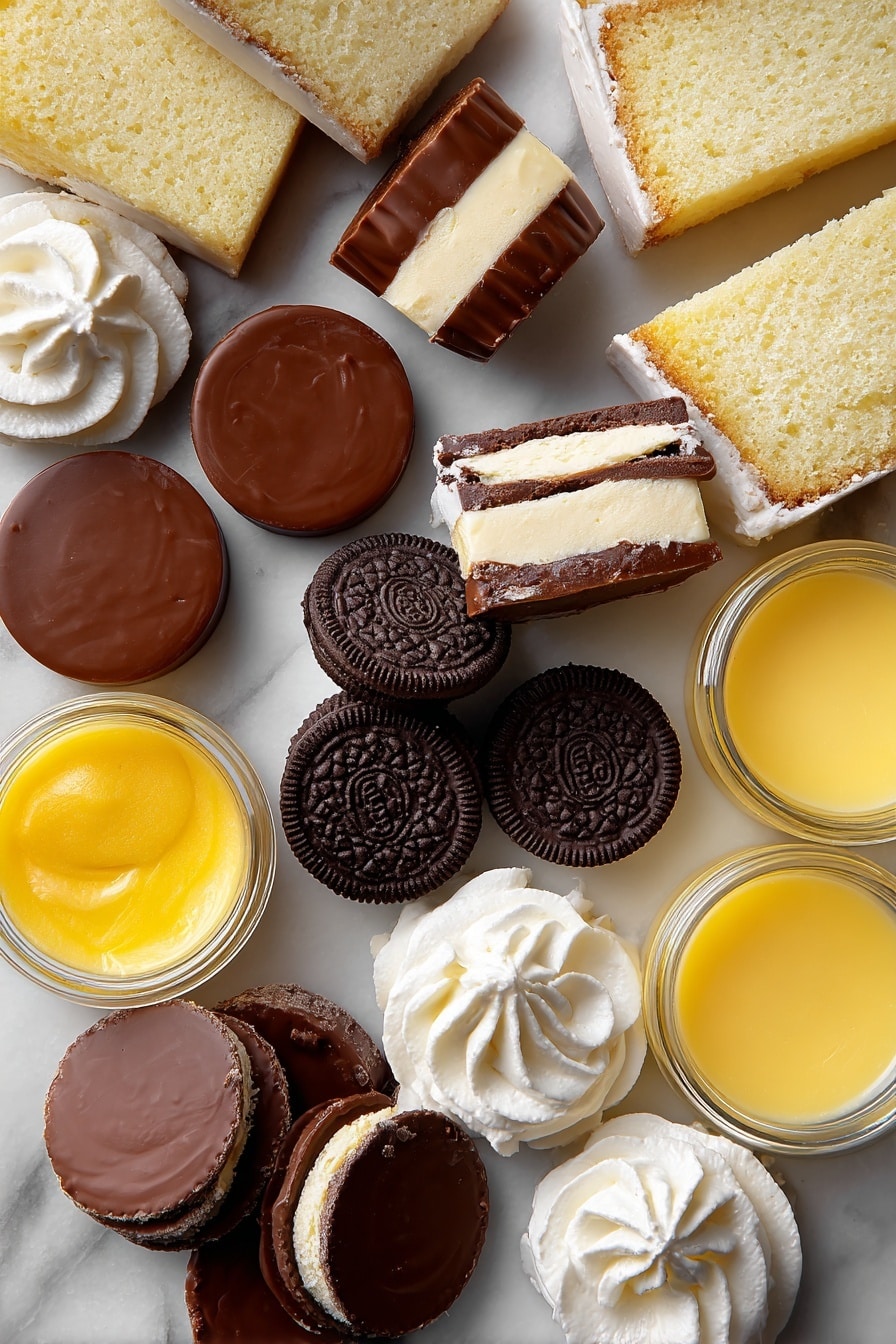
- Oreo chocolate baking crumbs: These form a sturdy, chocolaty crust that’s both flavorful and better than a typical graham cracker base.
- Unsalted butter: Melted to bind the crust and give it a rich, buttery flavor without being too salty.
- White granulated sugar: Adds just a touch of sweetness to balance the bitterness of the chocolate crumbs.
- Semi-sweet chocolate: Key to that glossy chocolate glaze; melting it carefully preserves its smoothness and shine.
- Corn syrup: Helps keep the chocolate glaze silky and shiny without crystallizing.
- Yellow gel paste food coloring: For that vibrant Halloween yellow pudding color—avoid liquid colors here as they can thin the pudding.
- Whipped cream: Adds fluffiness and lightens the creamy texture, giving a nice contrast to the denser cake layers.
- Instant vanilla pudding mixes: These set quickly, delivering the velvety vanilla flavor essential for Boston cream taste.
- White pound, angel food, or loaf cake: Broken into pieces to add a soft, spongy texture nestled within the creamy filling.
- Miniature Reese’s peanut butter cups, Oreo thins, and edible eyes: These fun ingredients transform the pie into a Halloween-themed dessert by creating cute chocolate bats.
- Royal icing or frosting dabs: Acts as the glue for the bat decorations, holding eyes and wings perfectly.
Make It Your Way
I love to play around a bit once I nail the base recipe, and you absolutely should, too! This No Bake Boston Cream Halloween Pie Recipe leaves plenty of room for personal touches — whether swapping the cake for a gluten-free option, or adding a splash of espresso to the chocolate glaze for a little grown-up twist.
- Variation: One of my favorite tweaks is using angel food cake for a lighter texture, which balances the decadence of the chocolate beautifully.
- Dietary swaps: You can use dairy-free whipped cream and pudding to make it vegan or dairy-free without losing creaminess.
- Seasonal flavors: Pumpkin spice in the pudding or adding crushed candy corn on top ups the festive factor.
- Chocolate upgrade: Try dark chocolate or flavoured chocolates like orange-infused for an extra Halloween punch.
Step-by-Step: How I Make No Bake Boston Cream Halloween Pie Recipe
Step 1: Preparing the Crust
First, spray your pie dish generously with non-stick cooking spray—this helps the crust release easily later. In a large bowl, mix the Oreo chocolate baking crumbs with the melted butter and sugar until the mixture sticks together like damp sand. Press this evenly into the bottom of your pie dish, packing it well so the crust holds together but isn’t rock hard. Chill in the fridge for at least 10 minutes to set. I like chilling while prepping the next layers—less waiting overall!
Step 2: Making and Setting the Chocolate Glaze
Melt your semi-sweet chocolate gently in the microwave or over a double boiler, stirring every 30 seconds to avoid burning or seizing. Once silky smooth, whisk in melted butter and corn syrup. Pour this glossy glaze over the chilled crust, smoothing it gently with a spatula to cover the whole crust without disturbing it. Return to the fridge for about 15 minutes until firm. This creates a crisp chocolate layer that’s so satisfying against creamy filling.
Step 3: Layering the Filling
Spread your whipped cream evenly over the firm chocolate crust—this adds a luscious, airy layer. Next, scatter the sliced or broken pieces of white cake on top of the whipped cream, creating little pockets of soft sweetness. Mix your instant vanilla pudding with yellow gel paste food coloring until you get that perfect, vibrant Halloween yellow, then gently spread the pudding over the cake. Use a butter knife to level out the pudding so the filling is flush with the dish edge. Taste as you go—you’ll love the balance here!
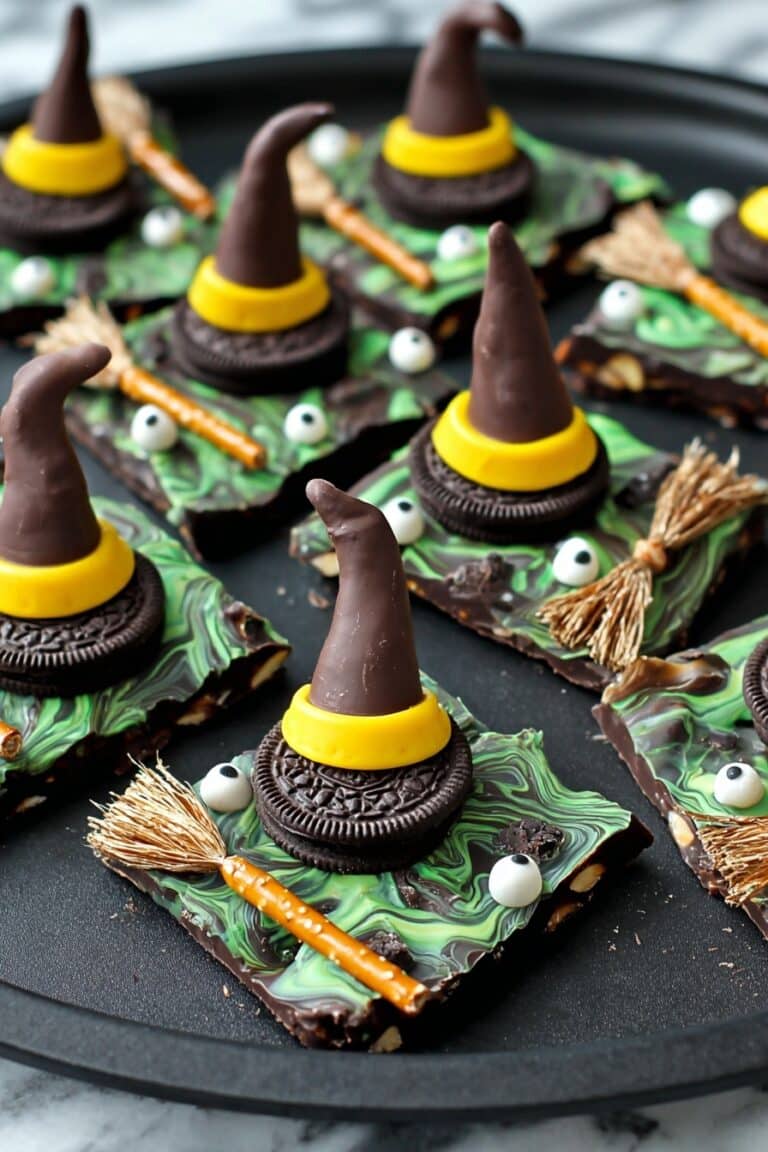
Step 4: Crafting the Chocolate Bats
Now for the fun part! Carefully unwrap the miniature Reese’s peanut butter cups, and break the Oreo Thins in half and remove the creamy filling. These halves become bat wings. Affix two wings (one on each side) to each Reese’s cup with a dab of royal icing acting like glue. Press edible eyes onto the top center of each peanut butter cup with more icing. The bats add a perfect cute-but-creepy Halloween vibe. I’ve learned to add the bats right before serving because the frosting eyes can start to slide if stored too long on the pie.
Tips from My Kitchen
- Melting Chocolate: I always melt chocolate slowly to avoid seizing—using a double boiler works wonders if you have time.
- Pudding Color Control: Adding gel paste food coloring bit by bit helps you get that perfect yellow without over-coloring or thinning the pudding.
- Bats Assembly Timing: Don’t put the bats on until right before serving; moist pudding causes the Royal icing to soften and ruin their shape.
- Even Layering: Use a butter knife to gently level each layer so your pie looks professionally finished with clean edges.
How to Serve No Bake Boston Cream Halloween Pie Recipe

Garnishes
I like to finish off this pie with a light dusting of cocoa powder or edible glitter to make the bats pop. You could also sprinkle crushed candy corn or mini chocolate chips around the edges for extra color and texture. For a truly festive pumpkin patch vibe, add a few candied pumpkin seeds or small Halloween sprinkles—it’s more playful than over-the-top.
Side Dishes
This No Bake Boston Cream Halloween Pie goes perfectly with a scoop of vanilla ice cream or a dollop of freshly whipped cream for extra indulgence. Pair it with hot apple cider or a lightly spiced chai tea to balance the richness and keep the spooky spirit alive.
Creative Ways to Present
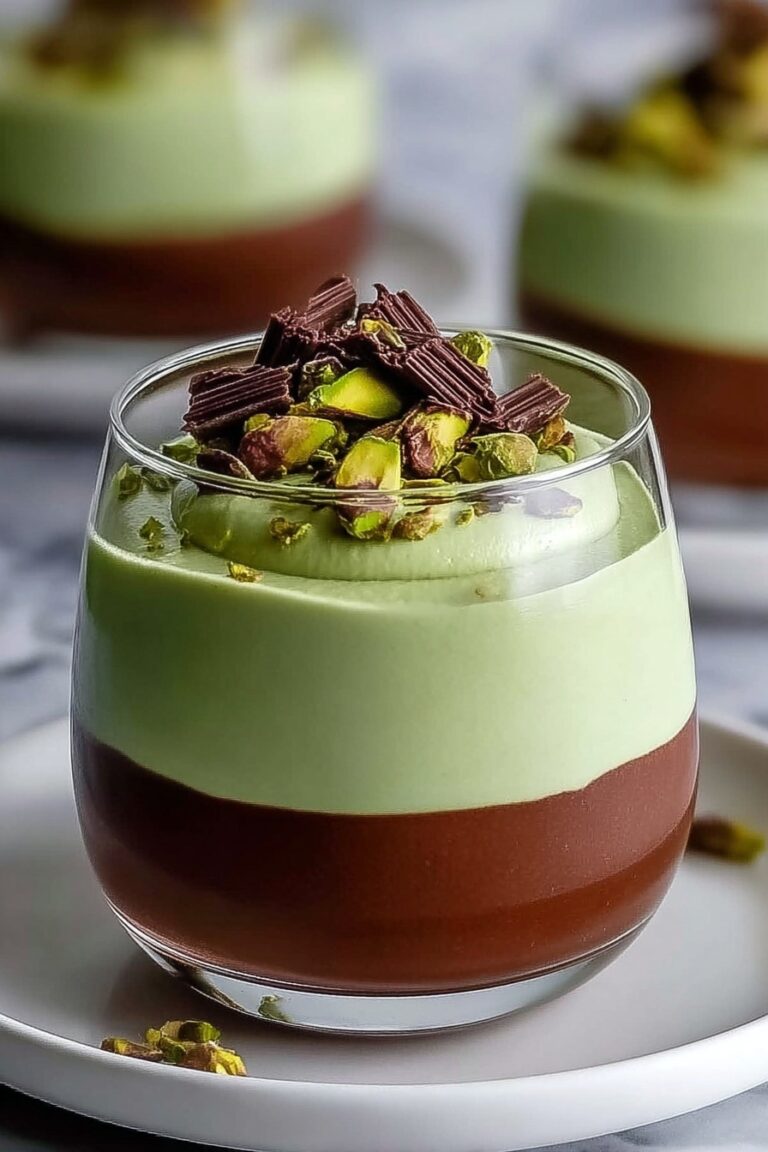
For a fun Halloween party, try slicing the pie into individual jars or cups, layering everything inside for a grab-and-go treat. I’ve also hollowed out small pumpkins and used them as creative individual pie servers topped with the chocolate bats—instant wow factor! Add Halloween-themed plates and napkins, and your dessert table becomes the star.
Make Ahead and Storage
Storing Leftovers
Store any leftovers covered tightly in the refrigerator to keep the pudding layers fresh and prevent the crust from getting soggy. The pie will keep well for up to 3 days — though honestly, it rarely lasts that long in my house!
Freezing
I’ve tried freezing this pie a few times with mixed results—the texture of the whipped cream and pudding changes slightly, becoming a bit grainy. If you’re keen to freeze, wrap it very tightly and thaw in the fridge overnight; just know it’s best enjoyed fresh for optimal creaminess.
Reheating
This pie is best served chilled, so reheating isn’t really necessary or recommended. If you do accidentally bring it to room temperature for too long, simply pop it back in the fridge for a half hour before serving to let everything firm back up.
FAQs
-
Can I use a store-bought pie crust instead of the Oreo crust?
You can, but the Oreo crust adds a special chocolatey crunch that complements the filling perfectly. Store-bought crusts may not hold up as well when layered with pudding, and won’t have that signature Oreo flavor.
-
What if I don’t have yellow gel paste coloring?
Yellow gel paste food coloring is best because it’s concentrated and won’t thin your pudding. If you can’t find it, try mixing a small amount of yellow and orange gel colors gradually to get the right hue. Avoid liquid food coloring to keep your pudding consistency intact.
-
Can I prepare this pie a day in advance?
Yes! Just be sure to assemble the chocolate bats right before serving to keep them looking sharp. Cover the pie with plastic wrap and store in the refrigerator overnight.
-
How do I prevent the chocolate glaze from breaking or seizing?
Melt chocolate gently over low heat or in short bursts in the microwave, stirring frequently. Avoid any contact with water during melting, as even a drop can cause the chocolate to seize and become grainy.
Final Thoughts
This No Bake Boston Cream Halloween Pie Recipe has quickly become my go-to for festive gatherings—it’s easy enough for weeknight prep, yet fancy and fun enough to impress any crowd. I love how it blends nostalgic Boston cream flavors with a Halloween twist that’s totally charming. Honestly, once you try it, you’re going to want to make it every year. So grab your ingredients, get cozy with this recipe, and prepare to wow your friends and family with one of the most fun and delicious pies you’ll ever make. Trust me, you’ve got this!
Print
No Bake Boston Cream Halloween Pie Recipe
- Prep Time: 45 minutes
- Cook Time: 20 minutes
- Total Time: 1 hour 5 minutes
- Yield: 8 servings
- Category: Dessert
- Method: No-Cook
- Cuisine: American
Description
A festive and delicious No Bake Boston Cream Halloween Pie featuring a chocolate Oreo crust, creamy pudding filling, and adorable chocolate bat decorations made from Reese’s cups and Oreo cookies. Perfect for Halloween celebrations and easy to prepare without baking.
Ingredients
Pie Crust:
- ½ 400g box Oreo chocolate baking crumbs
- ½ cup unsalted butter, melted
- 2 tablespoons white granulated sugar
Pie Glaze:
- 6 oz melted semi-sweet chocolate
- 1 tablespoon corn syrup
- ¼ cup melted butter
- ½ teaspoon yellow gel paste food/icing colouring
Pie Filling:
- 2 cups whipped cream (homemade or frozen dessert topping, e.g. Cool Whip)
- 12 99g containers instant vanilla pudding (3 packages of 4 servings)
- 1 270g – 370g white pound, angel food, or loaf cake, sliced or broken up
Chocolate Bats:
- 4 miniature Reese’s peanut butter cups
- 4 Oreo Chocolate (thins) Sandwich Cookies
- Dabs of frosting/icing (royal icing recommended)
- 8 edible eyes
Instructions
- Prepare Pie Dish: Spray the inside of a 10.5 inch round dessert dish (2.5 inches deep) or two shallow 9-inch pie plates (1.5 inches deep) with non-stick cooking spray. For one 9-inch pie plate, cut the recipe in half.
- Make Crust: In a large bowl, mix Oreo cookie baking crumbs, melted butter, and white sugar until the mixture clings together. Press evenly into the bottom of the pie plate(s). Chill the crust in the refrigerator for 10 minutes.
- Melt Chocolate Glaze: Melt semi-sweet chocolate in the microwave at 50% power for about 3 minutes or until fully melted. Stir in melted butter and corn syrup until combined. Be careful to avoid overheating or water contamination to prevent seizing.
- Apply Glaze: Pour the chocolate glaze evenly over the chilled Oreo crust. Gently spread with a spatula to cover the entire crust evenly without disturbing the crumbs. Refrigerate until firm, about 15 minutes.
- Prepare Filling: Spread whipped cream evenly over the chocolate-glazed crust. Then evenly distribute the sliced or broken pieces of white cake on top of the whipped cream layer.
- Color and Add Pudding: Add yellow gel paste food coloring to the instant vanilla pudding until desired yellow color is achieved. Top the cake layer with the colored vanilla pudding. Smooth the surface with a butter knife, making it flush with the edge of the pie plate by adjusting the pudding amount as needed.
- Make Chocolate Bats: Remove wrappers from Reese’s peanut butter cups. Break Oreo thin cookies in half and separate the pieces to create 8 “bat wings,” scraping off the frosting. Attach one cookie piece to each side of a Reese’s cup to form bat wings. Pipe frosting on the back of the edible eyes and secure them on top center of each Reese’s cup to create the bat’s eyes. Repeat for all four bats.
- Decorate Pie: Place the completed chocolate bats on top of the pie just before serving to maintain their texture and appearance. Serve immediately or refrigerate pie without bats until ready to serve.
Notes
- Do not place chocolate bats on pie before serving to avoid soggy bats and running eyes.
- You can melt the chocolate glaze also using a double boiler as an alternative to microwave.
- Use gel paste food coloring for accurate yellow color; grocery store food coloring may not achieve the right color.
- For smaller servings (one 9-inch pie), halve the recipe accordingly.
- Keep pie refrigerated if not serving immediately for best freshness.
Nutrition
- Serving Size: 1 slice
- Calories: 350 kcal
- Sugar: 30 g
- Sodium: 220 mg
- Fat: 22 g
- Saturated Fat: 10 g
- Unsaturated Fat: 10 g
- Trans Fat: 0.5 g
- Carbohydrates: 35 g
- Fiber: 2 g
- Protein: 4 g
- Cholesterol: 30 mg


