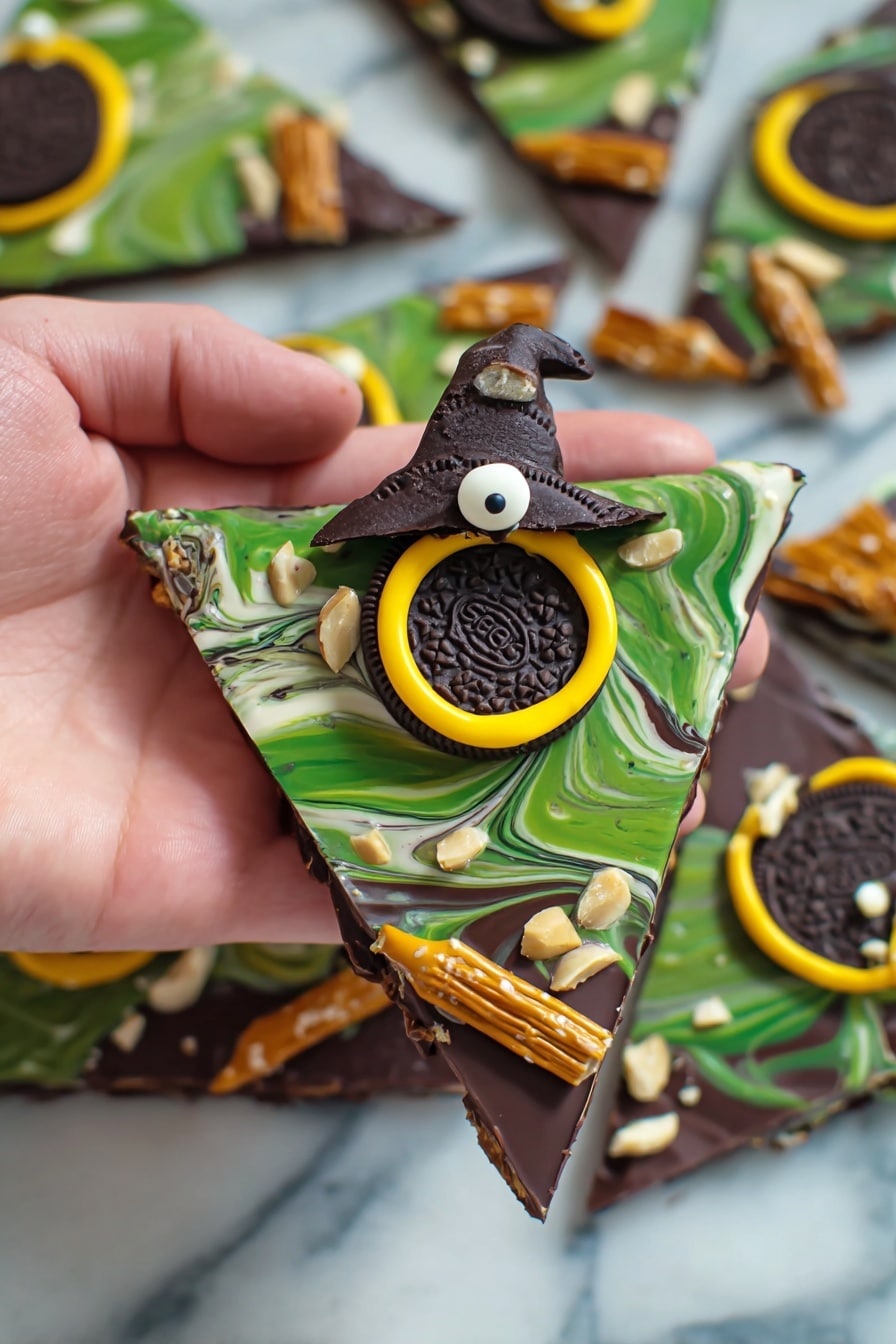
Melted Witch Halloween Bark Recipe
If you’re looking for a show-stopping Halloween treat that’s as fun to make as it is to eat, then you’re going to absolutely love my Melted Witch Halloween Bark Recipe. This spooky snack combines candy, chocolate swirls, and adorable witchy decorations into a delightfully crunchy and creamy bark that’s perfect for parties, gifts, or just treating yourself. Trust me, once you try this, it’ll become your go-to for all things Halloween! Ready to have some fun in the kitchen? Let’s dive right in.
Why This Recipe Works
- Layered Textures: The crisp cookies, crunchy pretzels, and smooth chocolate create a delightful contrast that keeps every bite interesting.
- Fun and Festive Presentation: The melted witch hats and brooms on top transform simple chocolate bark into a Halloween centerpiece that kids and adults will adore.
- Easy Melting Technique: Using candy melts and chocolate chips with interval microwaving ensures nothing burns, giving you silky, glossy chocolate every time.
- Customizable Ingredients: You can easily swap cookies, candies, or nuts based on what you have or prefer without losing the magic of this bark.

Ingredients & Why They Work
Every ingredient in this Melted Witch Halloween Bark Recipe plays a part in turning ordinary chocolate bark into a Halloween treat that’s both playful and delicious. I always aim to balance flavors and textures, so each bite feels special. When shopping, look for good-quality chocolate candy melts and crunchy cookies or pretzels for the best results.
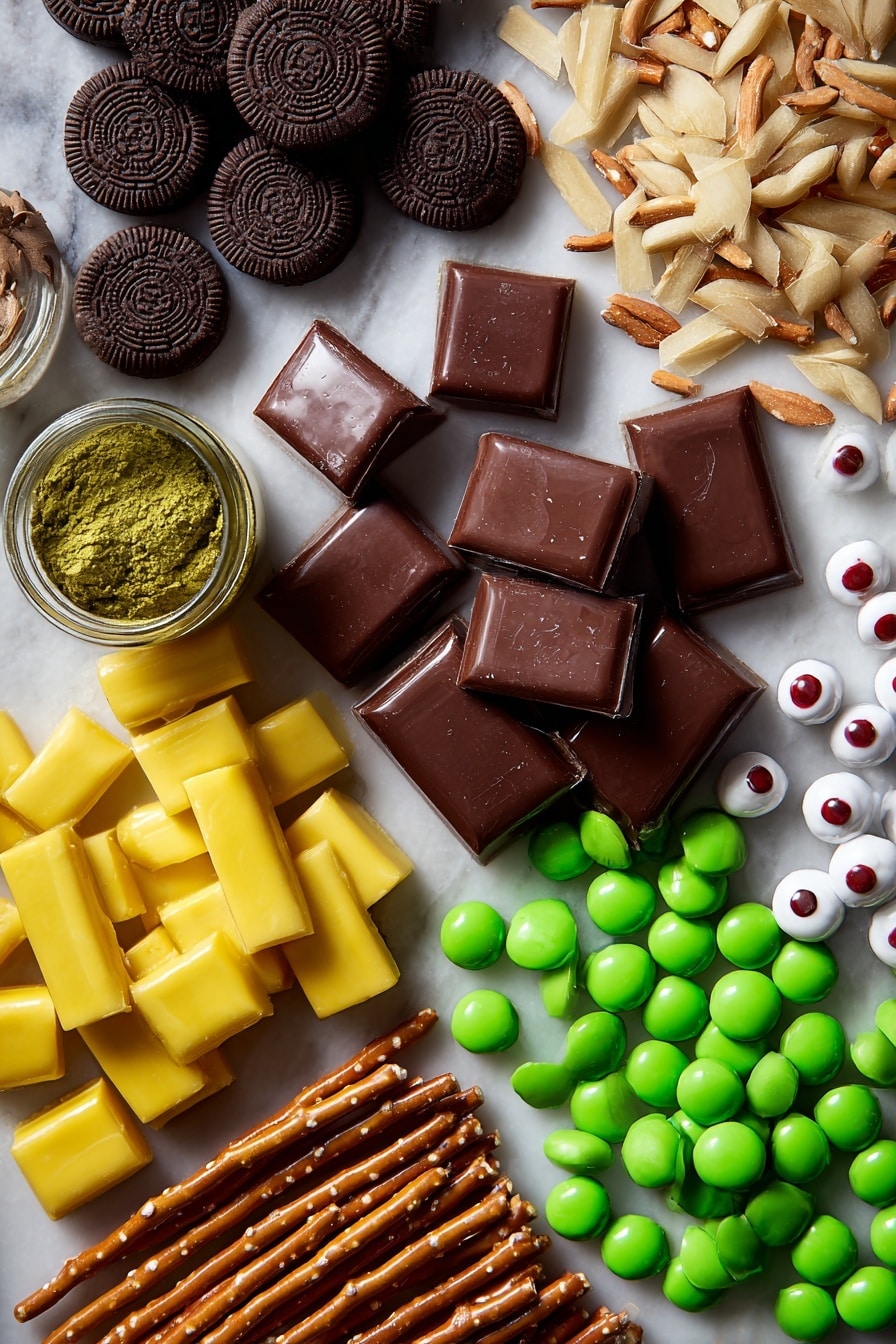
- Milk chocolate candy melts: These melt smoothly and hold their shape once set; perfect for dipping and creating glossy finishes.
- Chocolate cookies: I usually reach for Girl Guide cookies, but Oreos work great too—they add a lovely crunch and chocolatey base for the witch hats.
- Bugles: Their cone shape makes the perfect witch hat top when dipped in chocolate.
- Fondant (yellow): Used to make little hatbands, fondant adds a pop of color and detail that really bring the witches to life.
- Semi-sweet dark chocolate: Adds richness and a slight bitterness that balances the sweetness of the milk chocolate.
- Milk chocolate melting chocolate: Provides the smooth base for the bark and complements the other chocolates well.
- Almond slivers: These create the bristles of the witch brooms, adding crunch and a natural nutty flavor.
- Pretzel sticks: Serve as the handle for the brooms; their salty crunch contrasts beautifully with the sweet chocolate.
- Green candy melts: Perfect for spooky color accents—melting nicely into puddles to swirl on the bark.
- White or red candy eyeballs: The quirky finishing touch that makes this bark unforgettable and perfect for Halloween.
Make It Your Way
I love how versatile this Melted Witch Halloween Bark Recipe is because it lets you get creative with your spooky ingredients. Personally, I’ve swapped out the almond slivers for pecans to add a slightly different crunch, and sometimes I add festive sprinkles for a pop of color. Feel free to tweak it so it suits your Halloween vibe perfectly!
- Variation: One year, I replaced pretzel sticks with thin breadsticks for a less salty broom handle, and it worked surprisingly well—your call!
- Dietary modifications: Use dairy-free chocolate melts to make this recipe vegan-friendly without any hassle.
- Seasonal changes: Try swapping the green candy melts for orange or purple to match different holiday color schemes.
Step-by-Step: How I Make Melted Witch Halloween Bark Recipe
Step 1: Crafting the Witch Hats
Start by gently melting your milk chocolate candy melts in the microwave at half power. I always do 30-second bursts, stirring in between to avoid overheating. Once smooth, quickly dip each bugle into the chocolate and gently shake off any excess—this keeps the chocolate neat and not drippy. Press each coated bugle onto a cookie to form the classic witch hat shape and let them harden completely. When set, roll thin snakes out of yellow fondant to make the cute hatbands and wrap them around the cookie rims; trim as needed for a perfect fit. This part always feels a bit like playtime, but it’s so worth the charming look!
Step 2: Assembling the Witch Brooms
Next, bring back the remaining milk chocolate melts (reheat briefly if needed). Dip one end of each pretzel stick into the melted chocolate and lay it on parchment paper. Carefully arrange about four almond slivers alongside the chocolate-dipped end to mimic broom bristles. Spoon a bit more melted chocolate over the almond cluster to secure it in place. Once hardened, I always trim the edges with a sharp paring knife to get a neat broom look. This little detail took me a few tries, but now I know the trick is to wait for complete hardening before trimming to keep everything crisp and intact.
Step 3: Creating the Chocolate Bark Base
Line a baking sheet with parchment paper to make cleanup effortless. Melt your milk chocolate or milk chocolate chips in the microwave at 50% power, stirring every 30 seconds until fully smooth. Pour the melted chocolate onto your lined pan and spread evenly, but keep the layer thick enough to hold all the decorations. Now melt the semi-sweet dark chocolate the same way and drop spoonfuls onto the milk chocolate base. Swirl them using a knife for a marbled effect—this swirl technique is fun because it lets you control how dramatic or subtle the pattern looks. Next, melt the green candy melts and drop spoonfuls to create little puddles; gently swirl only some edges for a spooky mossy vibe.
Step 4: Decorating & Final Touches
Once your bark base is dressed with pretty swirls, it’s time to place your witch hats and brooms evenly across the surface. Don’t be shy—add more if you want a denser look! Scatter candy eyeballs over the bark as creepy little watchful guests. Before you let the bark set, gently tap the bottom of the baking sheet 3-4 times on your counter—this helps release any trapped air bubbles for a smooth finish. Set your creation aside at room temperature for 1-2 hours to harden fully before cutting.
Tips from My Kitchen
- Microwave Melting Hack: Melting chocolate on 50% power in short intervals prevents burning and gives you silky chocolate every time.
- Fondant Patience: Be patient when shaping the fondant bands for hats—it’s easier to handle if you let it rest between sessions to avoid tearing.
- Trimming Brooms: Wait until the chocolate on your broom bristles is fully set before trimming, or else the almonds might get pulled out.
- Air Bubble Removal: Tapping the bark pan on the counter before setting evicts bubbles and ensures smooth, beautiful bark.
How to Serve Melted Witch Halloween Bark Recipe
Garnishes
For garnish, I love adding a sprinkle of edible glitter or some purple and orange sugar crystals around the edges of the bark. It makes everything pop and adds that extra Halloween magic. If you’re feeling extra festive, a drizzle of colored candy melts in contrasting Halloween colors looks fantastic too.
Side Dishes
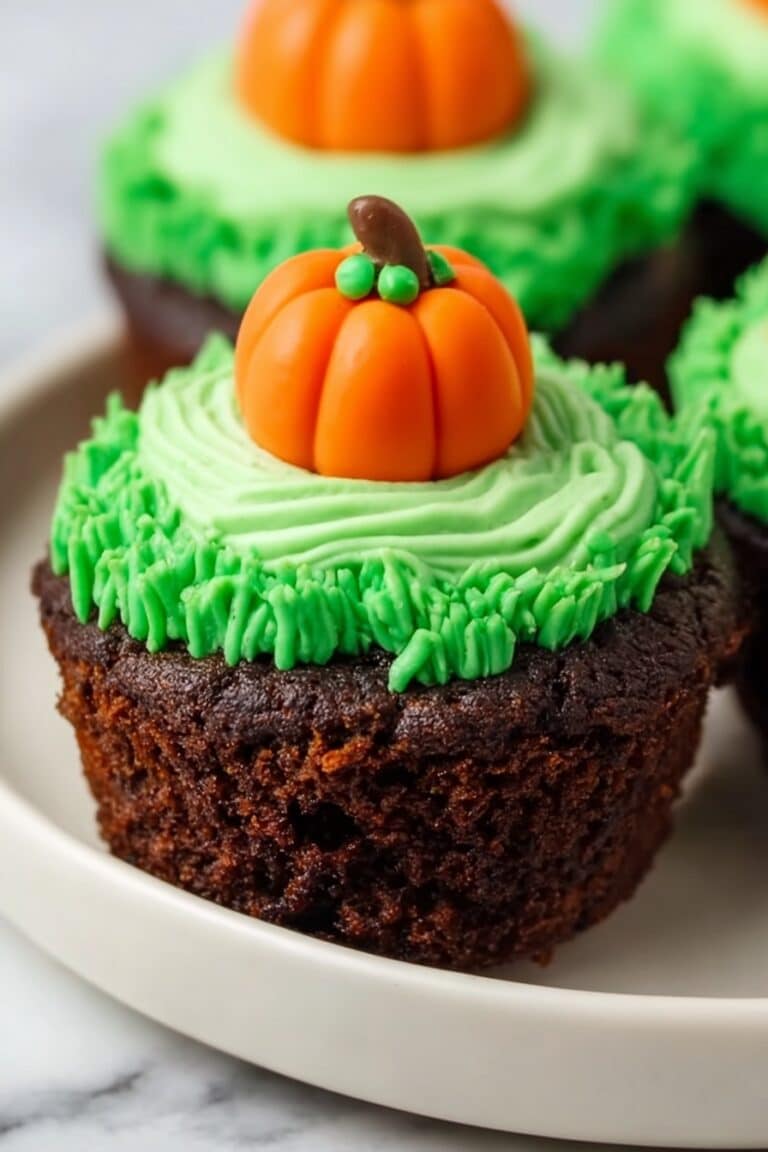
This bark pairs beautifully with a warm cup of spiced apple cider or a creamy pumpkin latte. For a party spread, I like serving it alongside mini pumpkin cupcakes or salted caramel popcorn to create a cozy, festive Halloween vibe.
Creative Ways to Present
One time I lined a decorative Halloween tin with cellophane and layered the bark with wax paper to give as gifts—it was a huge hit! You can also break the bark into chunks and serve in a clear jar tied with a ribbon for a simple, stunning treat display. If you’re hosting kids, try arranging the bark pieces on a platter surrounded by candy pumpkins and spooky props for a festive table centerpiece.
Make Ahead and Storage
Storing Leftovers
I store any leftover Melted Witch Halloween Bark in an airtight container at room temperature. It keeps perfectly crisp and flavorful for up to a week, as long as it’s away from direct heat. I once had some last almost two weeks without losing the delicious taste—just make sure the container seals tightly!
Freezing
Freezing works well if you want to make this treat in advance. Wrap the bark tightly in plastic wrap, then place it in a resealable freezer bag to prevent moisture. When you’re ready to enjoy, thaw it at room temperature for about 30 minutes—this helps keep all the textures intact.
Reheating
This bark is best enjoyed at room temperature, but if it gets a bit chilly, simply leave it out for 10-15 minutes before serving. Avoid microwaving leftovers, as that could melt the decorations and affect texture.
FAQs
-
Can I use regular chocolate instead of candy melts for the witch hats?
Absolutely! You can use regular milk or semi-sweet chocolate; just melt it gently and work quickly to dip the bugles. Candy melts are convenient because they set faster and have a smooth finish, but good quality chocolate works just as well.
-
What if I can’t find candy eyeballs?
No worries! You can substitute candy eyeballs with mini chocolate chips, colored sprinkles, or even draw eyes on white chocolate discs with edible markers. The key is to add that whimsical “eyes on the bark” effect for that spooky vibe.
-
How do I prevent the chocolate from seizing while melting?
Make sure your bowl and utensils are completely dry before melting chocolate. Melt slowly at low power in short intervals, stirring frequently. Even a drop of water can cause seizing, so be extra cautious about moisture.
-
Can I prepare parts of the bark in advance?
Yes! You can make the witch hats and brooms a day ahead and store them in airtight containers. Then, assemble the bark base and decorate when you’re ready to serve. It helps spread out the prep time and reduces stress on party day.
Final Thoughts
Making this Melted Witch Halloween Bark Recipe has quickly become one of my favorite holiday kitchen adventures—not only because it tastes incredible but because it turns what could be a simple chocolate treat into a conversation starter. I love seeing the smiles when friends and family spot the cute witch hats and brooms perched on the bark. Give it a try this season; I promise you’ll have fun crafting it and even more fun eating it. Happy Halloween baking!
Print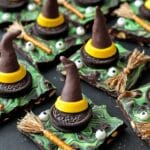
Melted Witch Halloween Bark Recipe
- Prep Time: 30 minutes
- Cook Time: 2 hours
- Total Time: 2 hours 30 minutes
- Yield: 18 servings
- Category: Dessert
- Method: No-Cook
- Cuisine: American
Description
This Melted Witch Halloween Bark Recipe combines whimsical witch hat cookies, broomstick decorations, and colorful chocolate swirls on festive bark, perfect for a spooky Halloween treat. It features milk and dark chocolate with fun candy accents like fondant, pretzels, and candy eyeballs for a playful and delicious dessert.
Ingredients
Witch Hats
- ½ 340 g package of milk chocolate candy melts
- 12 chocolate cookies (such as Girl Guide or Oreos)
- 12 bugles
- yellow fondant
Witch Brooms
- 4 oz semi sweet dark chocolate
- 2 lbs milk chocolate melting chocolate (or milk chocolate chips)
- 48 almond slivers (approximately)
- 12 pretzel sticks
Chocolate Bark
- ½ 340 g package of green candy melts
- 18 white or small red candy eyeballs (approximately)
Instructions
- Melt Milk Chocolate for Witch Hats: Melt the milk chocolate candy melts on ½ power in 30 second intervals, stirring in between until smooth and fully melted.
- Assemble Witch Hats: Dip each bugle into the melted chocolate, shake off excess gently, and immediately place one onto each chocolate cookie. Allow to harden completely.
- Add Fondant Decoration: Roll yellow fondant into snake shapes and fit around the rim of each cookie to resemble hatbands, trimming to fit perfectly.
- Prepare Witch Brooms – Melt Chocolate: Reheat remaining milk chocolate candy melts if needed.
- Assemble Brooms: Dip one end of each pretzel stick into melted chocolate and lay on parchment paper. Attach approximately 4 almond slivers at that end to resemble broom bristles. Spoon a bit of melted chocolate over the almond slivers to secure them, then let harden.
- Trim Broom Edges: Once hardened, carefully trim edges of almond slivers with a paring knife for a tidy broom shape.
- Prepare Chocolate Bark Base: Line a baking sheet with parchment paper. Melt the milk chocolate (or milk chocolate chips) at 50% power in 30 second intervals, stirring until smooth.
- Create Bark Swirls: Pour melted milk chocolate onto the prepared pan. Melt semi sweet dark chocolate similarly and drop spoonfuls onto the milk chocolate. Swirl gently with a knife to create marbled effects.
- Add Green Candy Melt Puddles: Melt green candy melts in the microwave the same way. Drop spoonfuls onto the chocolate and partially swirl edges for a spooky look.
- Decorate Bark: Evenly place the prepared witch hats and brooms on top of the bark. Scatter candy eyeballs throughout to enhance the Halloween theme.
- Remove Air Bubbles and Set: Tap the bottom of the baking sheet on the counter 3-4 times to remove air bubbles. Set aside to harden for 1-2 hours at room temperature.
- Serve: Once fully hardened, cut into pieces and serve your festive Halloween bark.
Notes
- Use a gentle hand when swirling chocolates to avoid mixing colors too much.
- Fondant can be replaced with colored icing if preferred.
- Make sure all dipped items are fully hardened before assembling final bark for best results.
- This bark can be stored in an airtight container at room temperature for up to a week.
- Feel free to customize with additional Halloween-themed candies.
Nutrition
- Serving Size: 1 piece
- Calories: 250 kcal
- Sugar: 20 g
- Sodium: 80 mg
- Fat: 15 g
- Saturated Fat: 9 g
- Unsaturated Fat: 5 g
- Trans Fat: 0 g
- Carbohydrates: 25 g
- Fiber: 1 g
- Protein: 3 g
- Cholesterol: 10 mg

