Love Bug Oreo Cookies Recipe
If you’re a fan of festive, fun, and utterly delicious treats, then you’re in for a real treat with this Love Bug Oreo Cookies Recipe. These adorable little cookies are perfect for Valentine’s Day, a cute snack, or just when you want to impress your friends with something sweet and creative. Trust me, once you dig in, you’ll wonder why you haven’t made these before. Let me walk you through every detail so you can nail them perfectly!
Why This Recipe Works
- Simplicity Meets Charm: Minimal ingredients but a maximum adorable factor that’s easy to replicate.
- Perfect Texture Combination: The creamy Oreo center with a crisp chocolate shell and crunchy sprinkles make every bite delightful.
- Quick Prep Time: You can have these beauties ready in under 30 minutes, making them ideal for last-minute celebrations.
- Customizable Decorations: Easy to swap sprinkles or candy eyes to fit any occasion or personal touch.

Ingredients & Why They Work
This Love Bug Oreo Cookies Recipe uses a handful of ingredients that all come together beautifully to create a playful and tasty treat. I always recommend grabbing good quality Oreo cookies and candy wafers for the best melt and coating experience.
- Oreo Cookies: The classic black-and-white cookie provides the perfect sturdy base and creamy filling that pairs wonderfully with chocolate coating.
- Red Chocolate Melting Wafers: These melt smoothly, creating a shiny, even shell without the need for tempering—and their vibrant red hue sets the mood for lovebug cuteness!
- Royal Icing Eyes: These give the cookies personality and make them whimsical and fun—plus they’re easy to stick on with a dab of melted chocolate.
- Micro Heart Sprinkles: Tiny bites of sweetness that add crunch and festive flair right after dipping.
Make It Your Way
One of the best things about this Love Bug Oreo Cookies Recipe is how easy it is to make your own. I love switching up the sprinkles or even the color of the candy wafers to fit the occasion or mood. You really can’t go wrong!
- Variation: For Halloween, I swapped out the red wafers for orange and black melts and replaced heart sprinkles with little bats and pumpkins—a festive hit every time.
- Dietary Modification: Use dairy-free chocolate wafers and check your sprinkles to create a vegan-friendly version without sacrificing fun.
- Difficulty Level: This recipe is no-fuss and beginner-friendly, especially if you’re new to chocolate dipping!
- Seasonal Changes: Swap royal icing eyes for edible googly eyes at Christmas for cute reindeer cookies!
Step-by-Step: How I Make Love Bug Oreo Cookies Recipe
Step 1: Prep Your Workspace Like a Pro
First things first: line a baking sheet with parchment paper or a silpat mat. This prevents any sticky mess and makes clean up a breeze. Trust me, this step saved me once when my first batch stuck to the tray—lesson learned!
Step 2: Melt Your Red Chocolate Wafers Gently
Pop your red candy wafers in a microwave-safe bowl and microwave on medium power for 30 seconds. Give it a gentle stir, then back into the microwave for 15-second bursts until completely melted and smooth. Stir slowly between bursts to avoid scorching and get that perfect glossy shine.
Step 3: Dip Your Oreos with Care
Grab one Oreo at a time and dip it about three-fourths into the melted red chocolate. Don’t rush this part! After dipping, lightly tap the cookie against the side of the bowl to let excess chocolate drip off—too much chocolate leads to messier cookies, and we want cute, not clumpy!
Step 4: Decorate Your Love Bugs
Place your freshly dipped Oreo onto your prepared baking sheet. Quickly sprinkle the micro heart sprinkles while the chocolate is still wet to make sure they stick well. Then, use a toothpick to add a small dab of melted chocolate on the backs of your royal icing eyes and place them on the cookie—these little eyes bring your love bugs to life!
Step 5: Let Them Set and Enjoy
Let your cookies sit at room temperature until the chocolate hardens. If you’re in a hurry, a brief chill in the fridge (10-15 minutes) speeds things up. Now comes the best part: eating and sharing your creation with friends and family.
Tips from My Kitchen
- Don’t Overheat the Chocolate: Microwaving in short bursts and stirring helps prevent burnt chocolate, which can be grainy and hard to dip.
- Use Room Temperature Oreos: It helps the chocolate adhere better; cold cookies can cause chocolate to seize or set too quickly.
- Work Quickly When Decorating: The candy coating sets fast, so have your sprinkles and eyes ready before dipping.
- Avoid Thick Coating: Too much chocolate can hide the cute “love bug” details and make cookies hard to eat.
How to Serve Love Bug Oreo Cookies Recipe
Garnishes
I love adding a few extra tiny heart sprinkles around the serving plate for a cute presentation. Sometimes I include edible glitter dust for a little sparkle that catches the light—your guests will be impressed!
Side Dishes
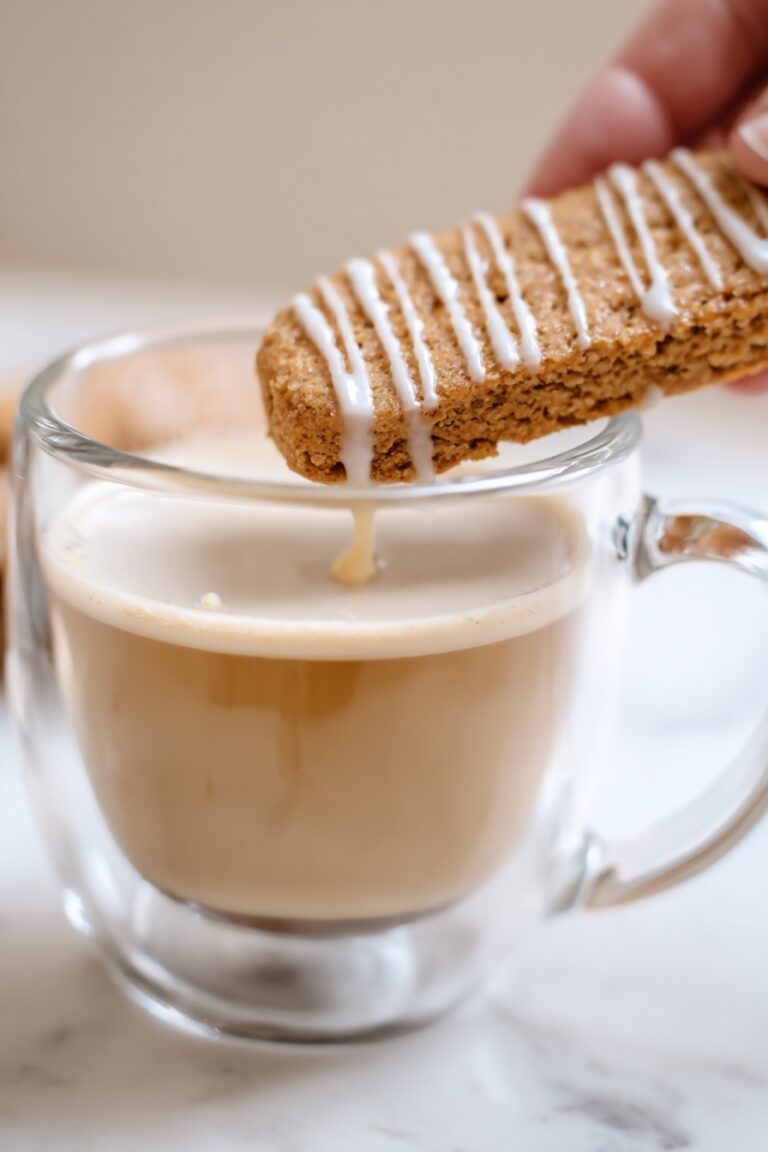
Pair these Love Bug Oreo Cookies with a cold glass of milk (classic combo), or try them with a hot cup of coffee or cocoa—you’ll find the chocolatey sweetness balances the drinks perfectly.
Creative Ways to Present
For Valentine’s parties, I’ve arranged them on a tiered stand alternating with fresh strawberries and little red roses—it makes a stunning centerpiece and a treat that doubles as décor. You could also wrap each cookie in clear cellophane with a ribbon for a cute gift giveaway.
Make Ahead and Storage
Storing Leftovers
Store your Love Bug Oreo Cookies in an airtight container at room temperature. In my experience, they keep fresh and crunchy for 7+ days, perfect for planning ahead or enjoying over several days.
Freezing
If you want to freeze, place the cookies in a single layer on a baking sheet to flash freeze, then transfer to a freezer-safe bag. They’ll last for about a month. Thaw at room temperature before serving for the best flavor and texture.
Reheating
No reheating needed here—these cookies are best enjoyed as-is! But if you like your dipping chocolate a bit softer, a few seconds in the microwave can soften them just enough without melting the eyes or sprinkles.
FAQs
-
Can I use other types of Oreos or cookies for this Love Bug Oreo Cookies Recipe?
You sure can! While classic Oreos work best because of their size and cream filling, sandwich cookies of similar dimensions with sturdy fillings will also work beautifully. Just keep an eye on the cookie’s thickness so they dip well without breaking.
-
What if I don’t have royal icing eyes?
No worries! You can use small dots of white and black icing to make eyes, tiny edible pearls, or even small candy eyes from craft stores. The key is attaching them quickly with melted chocolate so they stick before it sets.
-
How do I prevent the dipping chocolate from seizing?
Keep your chocolate wafers dry at all times. Avoid getting water or steam into the bowl during microwaving. Stir gently and use short bursts of heat to prevent overheating, which causes chocolate to seize.
-
Can I make this recipe gluten-free?
Absolutely! Swap the Oreos for certified gluten-free sandwich cookies—many brands offer similar cookie and cream combos. Just be sure all decorations and sprinkles are gluten-free as well.
-
How long will these cookies stay fresh?
Stored properly in an airtight container at room temp, these Love Bug Oreo Cookies stay deliciously fresh for at least a week. Just keep them away from humidity or heat to maintain the perfect crunch.
Final Thoughts
Every time I make the Love Bug Oreo Cookies Recipe, it brings a little sparkle of joy to my kitchen. I love seeing how something so simple can turn into a charming and tasty treat that friends and family adore. This recipe is ideal if you want a quick, no-fuss, delicious way to show some love through food. Give it a try—you’ll enjoy the smiles and the sweet “oohs” and “ahhs” just as much as the cookies themselves!
Print
Love Bug Oreo Cookies Recipe
- Prep Time: 5 minutes
- Cook Time: 20 minutes
- Total Time: 25 minutes
- Yield: 20 cookies
- Category: Dessert
- Method: No-Cook
- Cuisine: American
Description
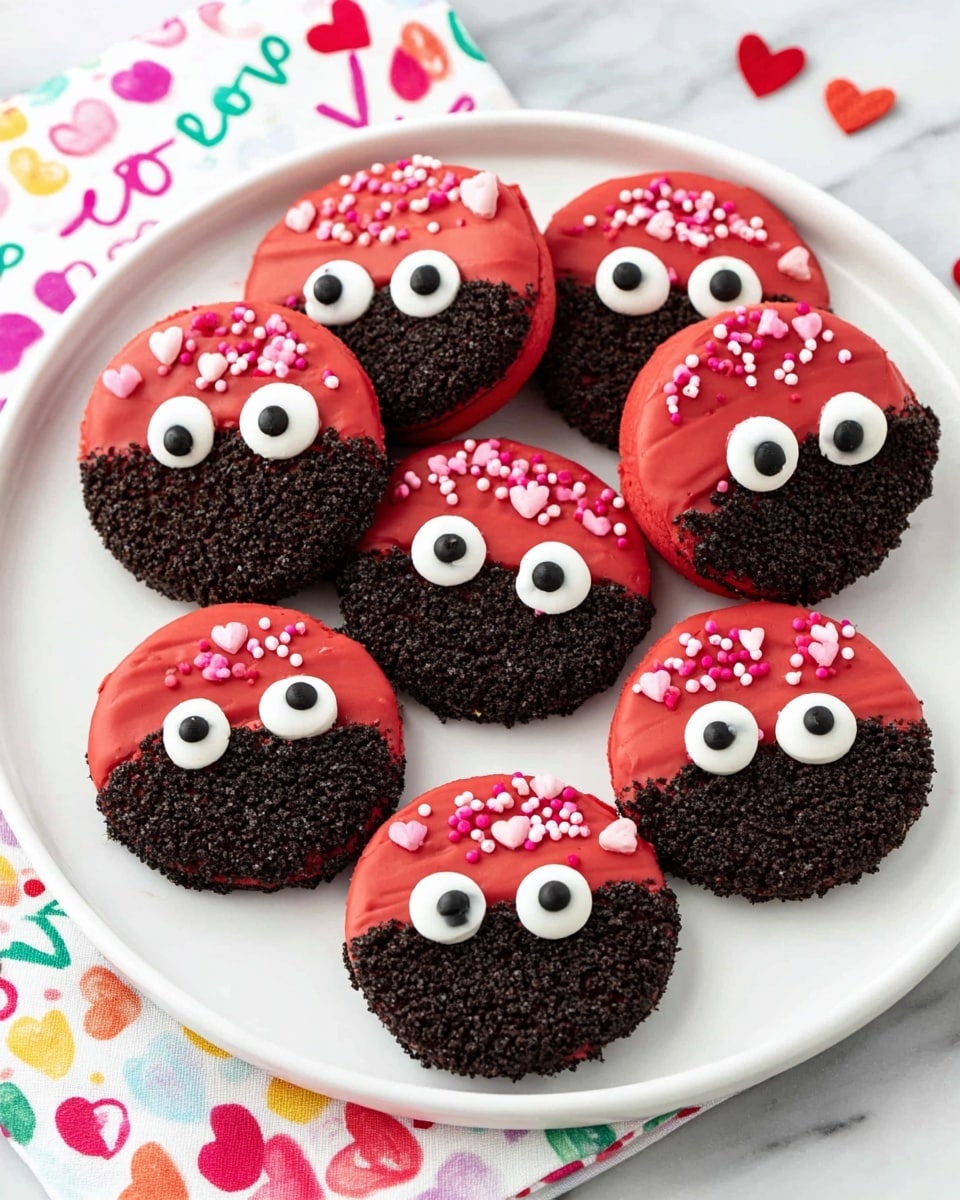
These adorable Love Bug Oreo Cookies are perfect for Valentine’s Day celebrations. Featuring Oreo cookies dipped in red melted chocolate, decorated with royal icing eyes and micro heart sprinkles, they make a festive and fun treat that’s both simple to make and delightful to share.
Ingredients
Main Ingredients
- 20 Oreo cookies
- 1 and ½ cups red chocolate melting wafers
- Royal icing eyes (about 40 eyes)
- Micro heart sprinkles (as needed for decoration)
Instructions
- Prepare Your Workspace: Line a baking sheet with parchment paper or a silpat mat and set it aside to keep your dipped Oreos from sticking.
- Melt the Chocolate: Place the red chocolate melting wafers into a microwave-safe bowl. Microwave on medium heat for 30 seconds, then stir slowly. Continue microwaving in 15-second increments, stirring after each, until the chocolate wafers are completely melted and smooth.
- Dip the Oreos: Dip each Oreo cookie about three-fourths of the way into the melted red chocolate. Lightly tap the cookie to remove any excess chocolate.
- Decorate the Oreos: Transfer the dipped Oreos onto the lined baking sheet. Immediately add micro heart sprinkles on the chocolate-dipped area for festive decoration.
- Add the Eyes: Using a toothpick, place a small drop of melted chocolate on the back of each royal icing eye, then stick the eyes onto the chocolate area of each Oreo to create the love bug look.
- Set the Chocolate: Allow the Love Bug Oreo Cookies to sit at room temperature until the chocolate fully sets and hardens.
- Serve and Enjoy: Once set, the cookies are ready to be enjoyed or stored.
Notes
- Store Love Bug Oreo Cookies in an airtight container to maintain freshness; they will keep well for 7 or more days.
- Use a toothpick for precise placement of royal icing eyes and small decorations.
- For quicker chocolate setting, you may refrigerate the cookies for about 10-15 minutes, but be cautious of condensation.
- Substitute red chocolate wafers with colored candy melts of your choice to suit different occasions.
Nutrition
- Serving Size: 1 cookie
- Calories: 140 kcal
- Sugar: 15 g
- Sodium: 85 mg
- Fat: 7 g
- Saturated Fat: 4.5 g
- Unsaturated Fat: 2 g
- Trans Fat: 0 g
- Carbohydrates: 20 g
- Fiber: 1 g
- Protein: 1 g
- Cholesterol: 5 mg


