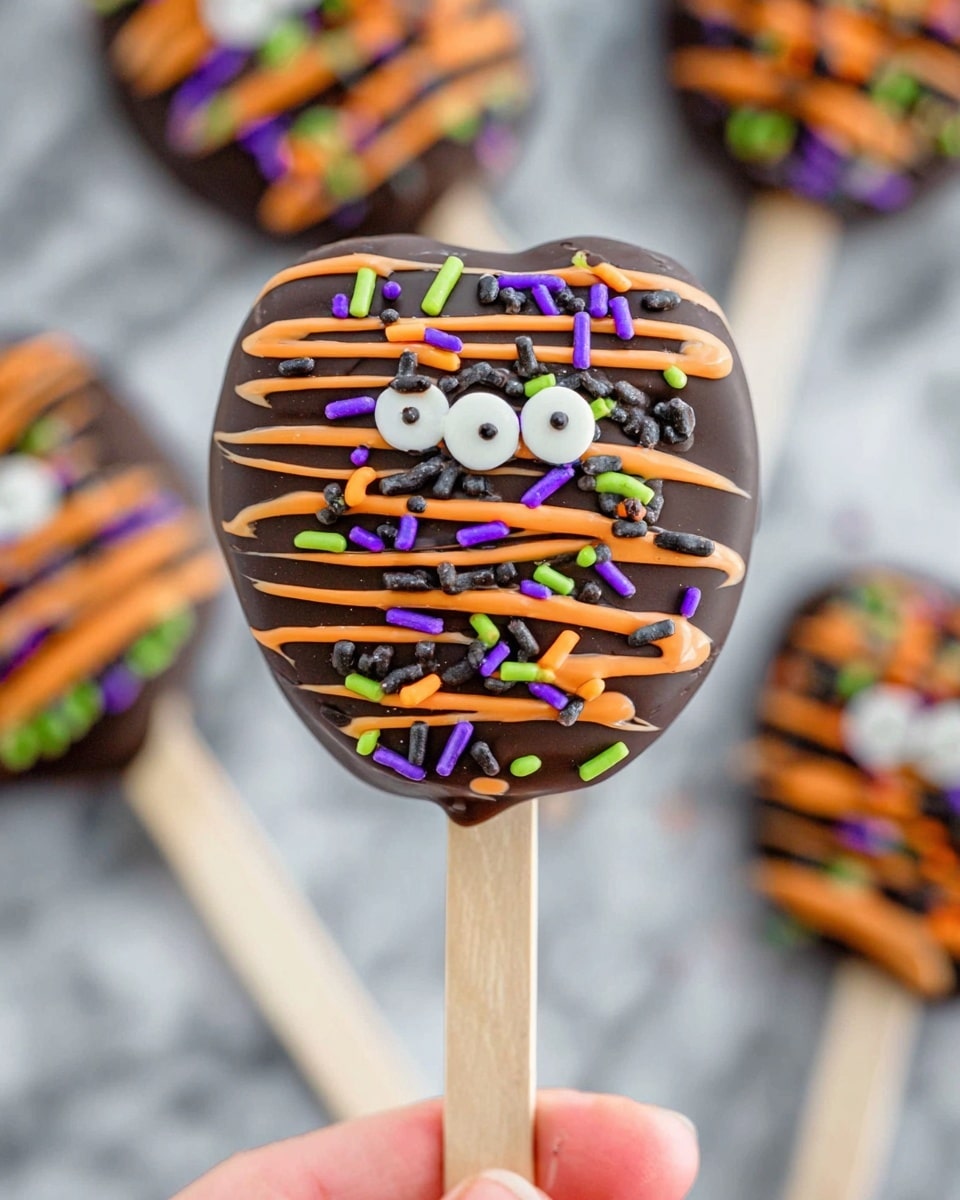
Halloween Chocolate Covered Apple Pops Recipe
If you’re looking to wow the neighborhood this Halloween, you absolutely have to try this Halloween Chocolate Covered Apple Pops Recipe. It’s super fun, easy to make, and trust me, those crisp Granny Smith apples dipped in rich dark cocoa and bright orange chocolate just scream spooky deliciousness. Whether you’re hosting a party, entertaining kids, or simply craving a festive treat, you’ll love how these pops turn out – delightful, colorful, and perfect for that hauntingly sweet bite!
Why This Recipe Works
- Simple, approachable steps: You don’t need fancy equipment or advanced skills, just some melting wafers and fresh apples.
- Perfect balance of flavors: Tart Granny Smith apples pair beautifully with creamy dark and orange chocolate coatings.
- Customizable and festive: Use your favorite sprinkles or toppings to tailor these pops to any Halloween vibe.
- Kid-friendly fun: The popsicle stick makes them easy for little hands to hold and enjoy mess-free.

Ingredients & Why They Work
This Halloween Chocolate Covered Apple Pops Recipe keeps things simple but impactful by focusing on quality ingredients that really pop—both in taste and presentation. Each component brings something special, so don’t skip on the Granny Smith apples for tartness or the specialty melting wafers for smooth, shiny coatings.
- Granny Smith Apples: These are my go-to because their tartness perfectly balances the rich chocolate. Firm texture means crisp bites every time.
- Dark Cocoa Melting Wafers: Specifically made to melt smoothly without seizing and give a glossy finish, they coat the apples beautifully.
- Orange Melting Wafers: Adding a vibrant pop of Halloween color, these also melt easily and pair with the dark chocolate for that festive look.
- Halloween Sprinkles: These fun decorations bring whimsy and extra crunch; I love grabbing themed shapes to amp up the spooky factor.
Make It Your Way
One of the best parts about this Halloween Chocolate Covered Apple Pops Recipe is how easy it is to make it your own. I often switch up the toppings or swap chocolate colors depending on what I have on hand or to match a party theme—it keeps things exciting!
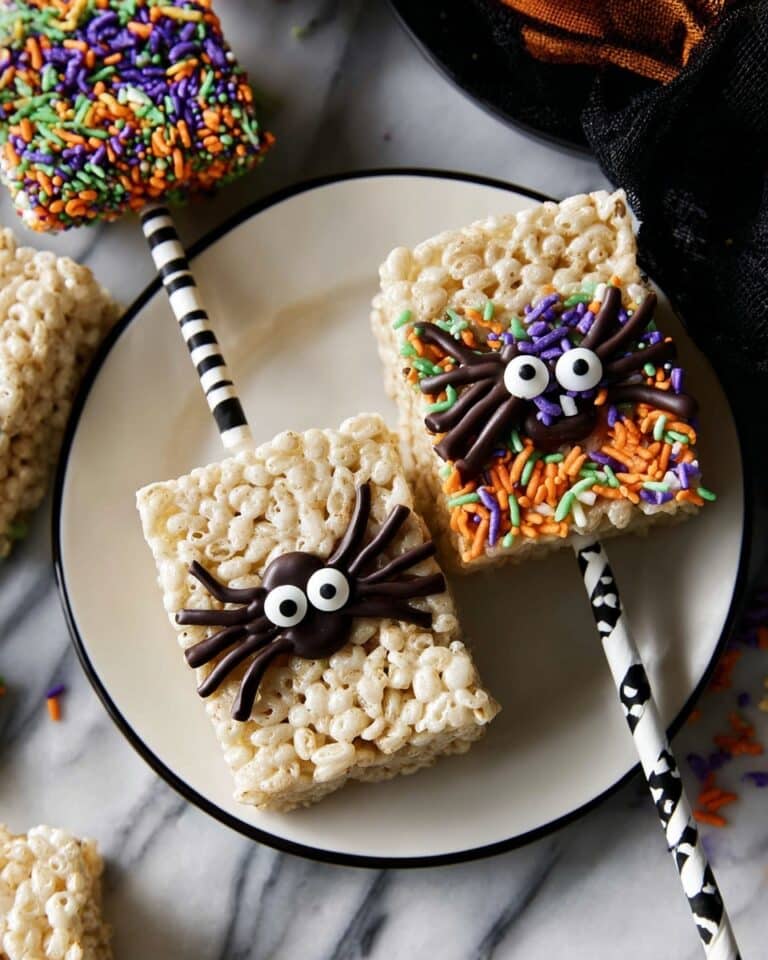
- Variation: I once made mini “monster” apple pops by using candy eyes and green sprinkles—it was a hit with the kids and super cute!
- Dietary Modification: Swap melting wafers for dairy-free or vegan chocolate melts if you’re catering to dietary needs.
- Seasonal Changes: In fall, try cinnamon sugar sprinkles or crushed pecans to add a cozy twist.
Step-by-Step: How I Make Halloween Chocolate Covered Apple Pops Recipe
Step 1: Slice Your Apples Just Right
I cut my Granny Smith apples into about 1/2-inch slices—thin enough to be bite-sized but thick enough to hold a popsicle stick without bending or breaking. Skip the core to avoid any tough bites. If you slice them too thin, the pops won’t hold together well, which is an easy mistake to make so watch that thickness carefully.
Step 2: Prep Your Chocolate Melts
Melt your dark cocoa and orange melting wafers separately. I use microwave-safe bowls, heating them for 2 minutes, stirring well, then continuing to melt at 30-second bursts until silky smooth. If your chocolate feels too thick, add a tablespoon of Crisco or coconut oil to thin it out—this little trick keeps your coating smooth and easier to work with.
Step 3: Assemble Your Apple Pops
Push a popsicle stick into the center of each apple slice carefully. If the apple surface is a little wet, pat it dry with a paper towel – this helps the chocolate adhere better. For stubborn slices where the stick won’t hold, try dabbing a bit of melted chocolate on one side first, then press in the stick and let it set before dipping.
Step 4: Dip, Drizzle & Decorate
Here’s where the Halloween magic happens. Dip half your apple pops in dark cocoa chocolate, then drizzle with the orange melts and quickly top with Halloween sprinkles before setting them down on parchment. For the other half, flip the colors—dip in orange first, drizzle dark cocoa, and sprinkle away. Work quickly as the melts can set fast!
Step 5: Let Them Set and Enjoy
Allow your pops to set on parchment or wire racks for about 15 minutes. Once they’ve firmed up, you’re ready to serve these festive treats that look as good as they taste. If you need to speed it up, placing them in the fridge for a few minutes does the trick.
Tips from My Kitchen
- Prevent browning: Brush apple slices with lemon or lime juice before dipping to keep them fresh-looking longer.
- Avoid limp apples: Use slightly thicker slices and make sure your popsicle sticks are pushed in firmly or pre-set with melted chocolate if needed.
- Work fast when drizzling: Chocolate sets quickly, so have your sprinkles ready and sprinkle immediately after drizzling for best adhesion.
- Dry apple surfaces: Pat apple slices dry with a paper towel before dipping to help chocolate stick perfectly without sliding.
How to Serve Halloween Chocolate Covered Apple Pops Recipe
Garnishes
I love adding a playful touch with Halloween sprinkles, but I’ve also had great luck using mini chocolate chips, crushed Oreos, or even chopped nuts for more texture. Sometimes I add cute candy eyes to turn the apple slices into mini monsters—that always gets laughs and double takes!
Side Dishes
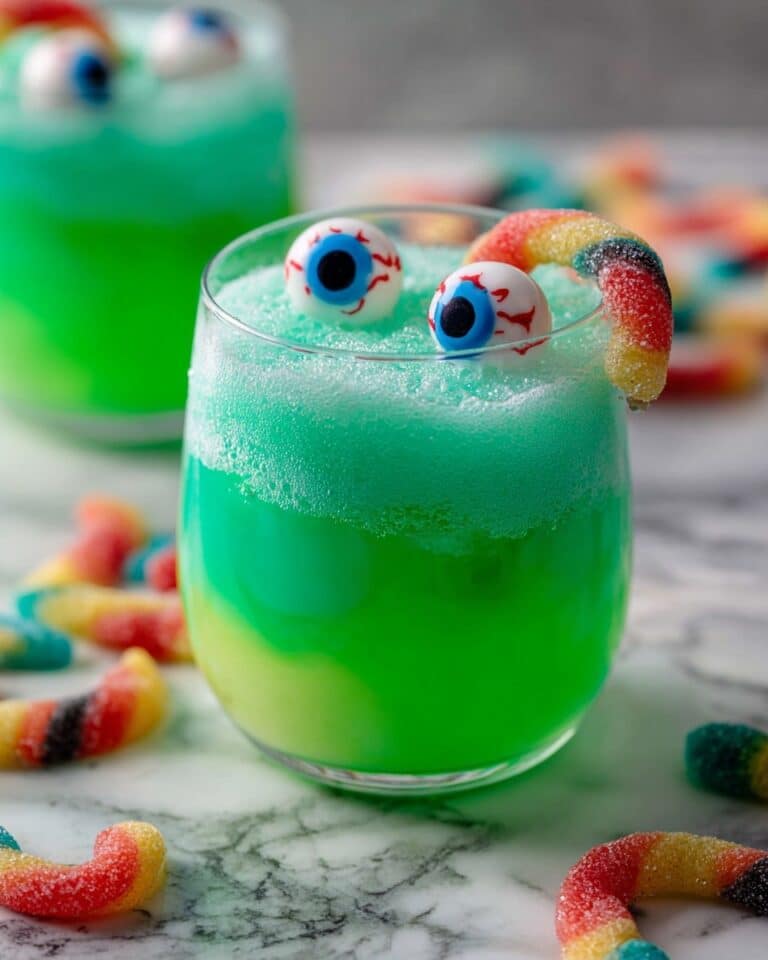
Pair these apple pops with a cozy fall drink like hot apple cider or spiced pumpkin latte for a perfect seasonal snack spread. They also go great alongside a cheese platter if you want a sweet and savory combo at your Halloween gathering.
Creative Ways to Present
This year, I placed the apple pops upright in a decorated pumpkin—just carve a few holes large enough to hold the sticks. It’s an easy but striking way to display them as a centerpiece! Alternatively, you can wrap individual pops in cellophane with some ribbon as cute Halloween party favors.
Make Ahead and Storage
Storing Leftovers
If you have any leftovers (which is rare!), I recommend storing them in an airtight container lined with parchment in the fridge. They’re best eaten within one day because the apples will start to soften and lose their crispness over time.
Freezing
I’ve tried freezing these apple pops, but I found the texture suffers—the apples become mushy after thawing, so I’d skip freezing this one unless you’re okay with less crispness.
Reheating
Since these are served cold and fresh, reheating isn’t necessary. Just bring them to room temperature out of the fridge for about 10 minutes before serving if you want to soften the chocolate slightly for easier biting.
FAQs
-
Can I use regular chocolate instead of melting wafers for this Halloween Chocolate Covered Apple Pops Recipe?
While regular chocolate can work, melting wafers are specially formulated to melt smoothly and harden with a shiny finish, which makes the dipping process much easier and less prone to seizing or clumping. If you choose regular chocolate, be sure to temper it properly or add a bit of coconut oil to help smooth the texture.
-
How do I prevent the apple slices from browning before dipping?
Brushing the apple slices with lemon or lime juice helps prevent browning by slowing oxidation. Another trick is to slice the apples right before dipping and keep them in cold water with a bit of lemon juice if you need to hold them for a short time.
-
What’s the best way to store Halloween Chocolate Covered Apple Pops?
Store the pops in an airtight container lined with parchment paper in the refrigerator for up to one day. The chocolate stays crisp, but the apples begin to soften beyond that timeframe.
-
Can I use other apple varieties?
Sure! Granny Smith apples are ideal for their tartness and firmness, but you can try Fuji or Honeycrisp for a sweeter, juicier bite—just be aware they might not hold up quite as well under the coating.
Final Thoughts
This Halloween Chocolate Covered Apple Pops Recipe has become my go-to festive treat—it’s quick, family-friendly, and just so darn fun to make and eat. Every year I look forward to the creative toppings and colorful drizzles, and it’s always a hit no matter the crowd. So go ahead, grab some apples and melting wafers, and get your Halloween pop on—I promise you won’t regret it!
Print
Halloween Chocolate Covered Apple Pops Recipe
- Prep Time: 20 minutes
- Cook Time: 0 minutes
- Total Time: 35 minutes
- Yield: 20 servings
- Category: Dessert
- Method: No-Cook
- Cuisine: American
- Diet: Vegetarian
Description
Halloween Chocolate Covered Apple Pops are a fun and festive treat perfect for spooky celebrations. Granny Smith apple slices are dipped in melted dark cocoa and orange melting wafers, decorated with Halloween sprinkles, and set to create colorful, delicious pops that are both crunchy and sweet. This delightful no-bake recipe is easy to prepare and a hit with kids and adults alike.
Ingredients
Apples
- 5 medium/small granny smith apples
Chocolate Coatings
- 12 ounces dark cocoa melting wafers
- 12 ounces orange melting wafers
Toppings
- Halloween sprinkles
Instructions
- Prepare Apple Slices: Cut each granny smith apple into 4 slices, avoiding the core. Aim for slices slightly less than 1/2 inch thick to maintain sturdiness. Carefully insert a popsicle stick into the center of each slice to create an apple pop.
- Melt Chocolate Wafers: In separate microwave-safe bowls, melt the dark cocoa and orange melting wafers. Heat each for 2 minutes initially, then stir and continue melting in 30-second increments until fully smooth, stirring between each session.
- Dip Apple Pops in Dark Cocoa: Take one apple pop and dip each side into the melted dark cocoa chocolate. After dipping, drizzle some of the melted orange chocolate over the coated apple using a spoon.
- Decorate with Sprinkles: While the chocolate is still wet, sprinkle with Halloween-themed sprinkles for a festive touch.
- Set the Apple Pops: Place the decorated apple pops on a parchment-lined sheet or a metal rack to set the chocolate coating.
- Repeat for Half the Pops: Repeat the dipping, drizzling, and decorating process with 9 more apple pops using the dark cocoa coating first.
- Dip Remaining Pops in Orange Chocolate: Dip the remaining apple pops in the orange melted wafers, then drizzle with dark cocoa chocolate and decorate with sprinkles.
- Final Setting: Place all apple pops on parchment or racks and allow them to fully set before enjoying.
Notes
- These apple pops are best eaten the same day but can be refrigerated for up to 1 day.
- Prepare all ingredients and toppings in advance to prevent the apple slices from browning while you work.
- Brush apple slices with lemon or lime juice to help prevent browning if needed.
- Ensure apple slices are thick enough (about 1/2 inch) to hold the popsicle stick firmly without becoming limp.
- If the popsicle sticks are difficult to insert, use a dab of melted chocolate on the apple slice to adhere the stick and let it set before dipping.
- Dry the apple flesh with a paper towel if too wet to help chocolate adhere better.
- If chocolate is too thick for dipping, add 1 tablespoon of Crisco to thin it out.
- Get creative with additional toppings such as mini chocolate chips, M&Ms, crushed Oreos, nuts, mini marshmallows, or shredded coconut.
- Try festive decorations like white chocolate webs or themed shapes to make spooky Halloween-themed treats.
Nutrition
- Serving Size: 1 apple pop
- Calories: 150 kcal
- Sugar: 20 g
- Sodium: 5 mg
- Fat: 7 g
- Saturated Fat: 4 g
- Unsaturated Fat: 2 g
- Trans Fat: 0 g
- Carbohydrates: 25 g
- Fiber: 2 g
- Protein: 1 g
- Cholesterol: 0 mg

