No Bake Pumpkin Lush Recipe
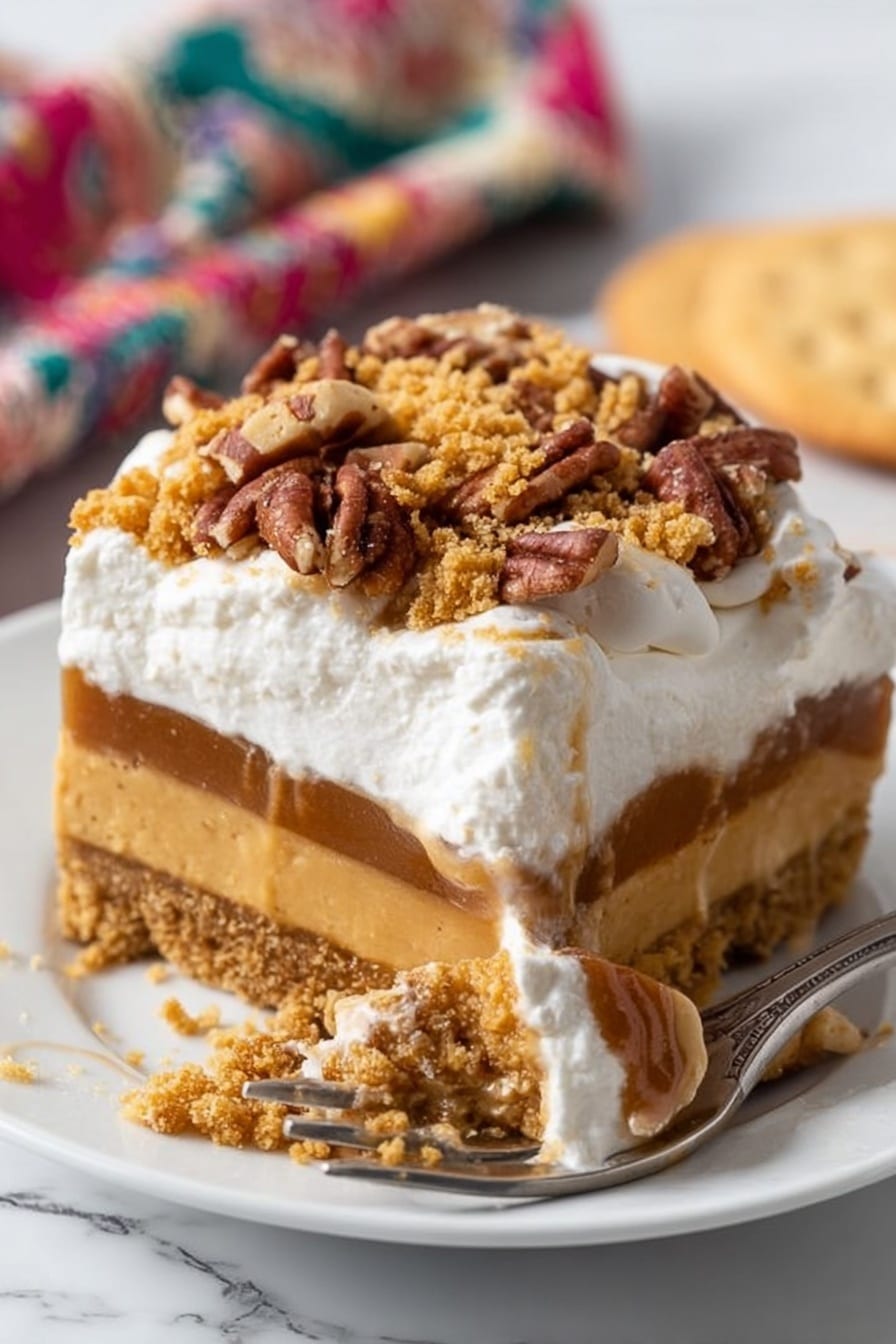
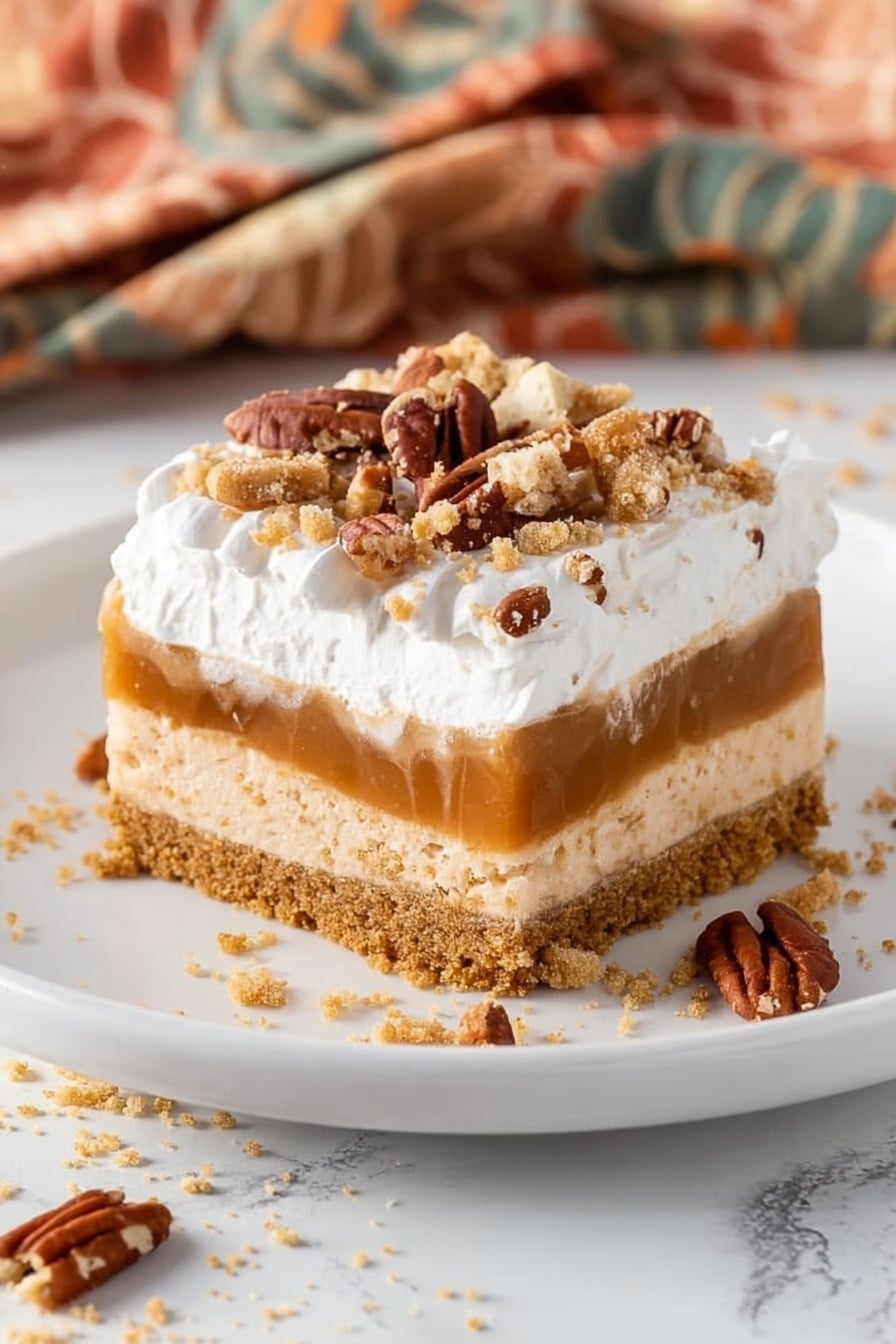
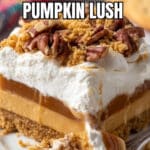
If you’re on the hunt for a dessert that’s as easy as pie but without the oven, you’re going to absolutely love this No Bake Pumpkin Lush Recipe. It’s creamy, indulgent, and bursting with cozy pumpkin spice flavor—all layered on a buttery gingersnap crust that sets in the freezer. Trust me, once you try this, it’ll be your go-to fall treat that everyone keeps asking for again and again.
Why This Recipe Works
- No Baking Needed: You simply mix and chill—perfect when you want a fuss-free dessert.
- Layered Flavors & Textures: The crunchy gingersnap crust contrasts beautifully with the creamy pumpkin layers.
- Seasonal Touch: Pumpkin spice pudding and puree bring that signature fall warmth and nostalgia.
- Flexible Ingredients: You can swap pudding flavors or toppings to suit your pantry or guests.
Ingredients & Why They Work
Each ingredient in this No Bake Pumpkin Lush Recipe plays a key role in delivering texture and flavor. The gingersnap crust adds spicy crunch, the pumpkin pudding layer brings rich fall flavors, and the pumpkin cream cheese layer is silky and luscious. These layers meld together beautifully, creating a balanced and satisfying dessert. Let’s look at what you’ll need and why I love each one.
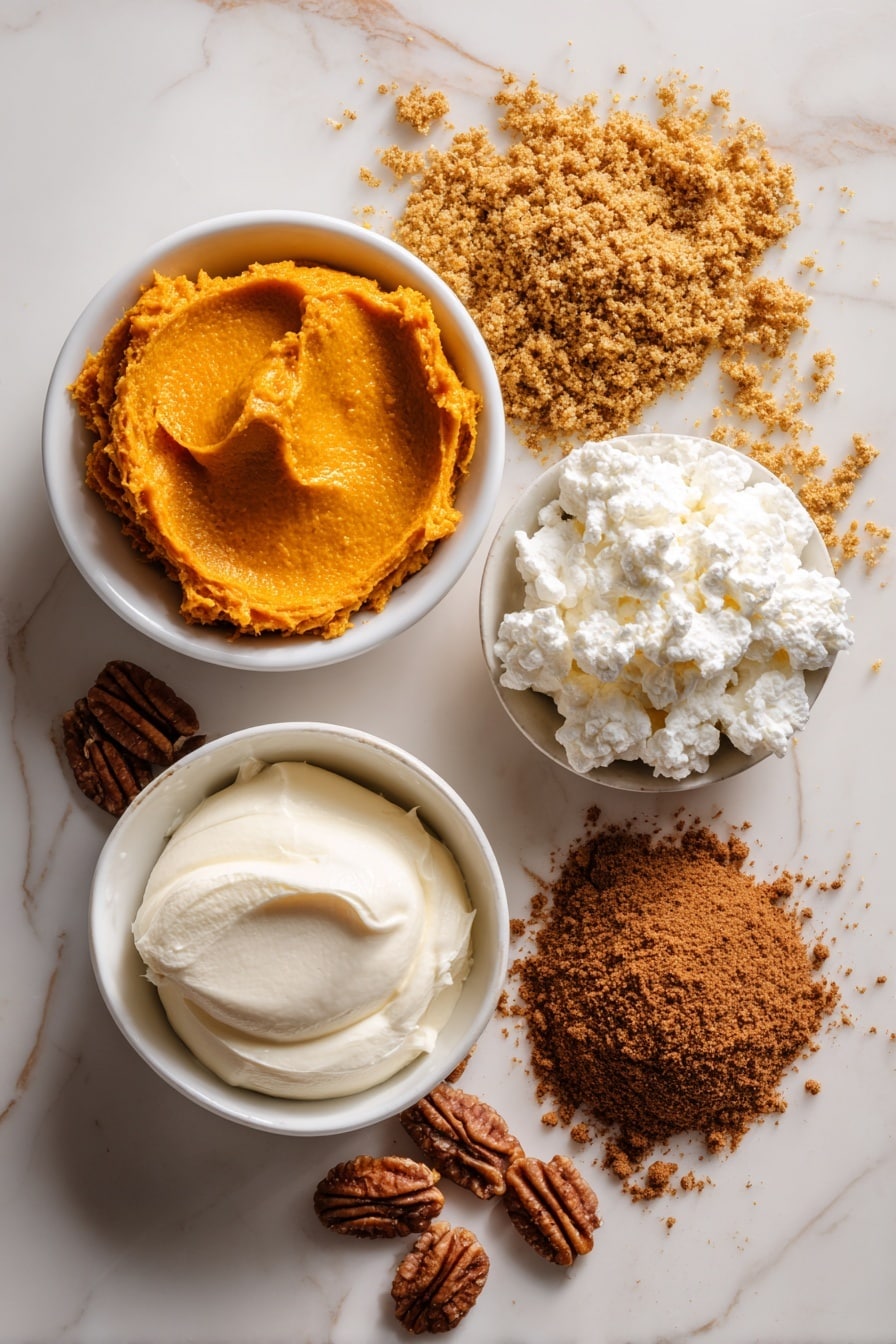
- Gingersnap Cookies: Crunchy and spicy, they make the perfect base—crush them well for an even crust.
- Unsalted Butter: Binds the cookie crumbs together and adds richness without being overpowering.
- Pumpkin Spice Pudding Mix: The star of the dessert’s seasonal flavor; if you can’t find it, butterscotch pudding works as a nice substitute.
- Milk: Needed to prepare the pudding and get that smooth, creamy texture.
- Cream Cheese: Adds tang and creaminess to the pumpkin layer—make sure it’s softened for easy mixing.
- Confectioners’ Sugar: Sweetens the cream cheese layer lightly without grit, blending seamlessly.
- Pure Pumpkin Puree: Real pumpkin flavor anchors the dessert and keeps it authentic.
- Vanilla Extract: Enhances all the flavors with a subtle warmth.
- Pumpkin Spice: Additional seasoning boosts the seasonal flavor punch.
- Cool Whip: Lightens both the pumpkin cream cheese and pudding layers for a fluffy finish.
- Chopped Pecans & Extra Gingersnap Crumbs: Optional but add gorgeous texture and crunch on top.
Make It Your Way
One of the reasons I keep coming back to this No Bake Pumpkin Lush Recipe is because it’s incredibly versatile. I like to tweak the toppings or pudding flavors depending on what I have or the crowd I’m serving. You can easily make it dairy-free or swap out some ingredients to cut sugar, so don’t be shy about personalizing it.
- Variation: I’ve swapped pumpkin spice pudding for butterscotch pudding once, and it created a deliciously sweet, mellow pumpkin flavor with a caramel twist. You might love it too!
- Dairy-Free Option: Try using dairy-free cream cheese and whipped topping, plus almond or oat milk for pudding—all still come together beautifully.
- Garnish Upgrades: Toasted coconut flakes or a drizzle of salted caramel really kick this dessert up a notch for special occasions.
Step-by-Step: How I Make No Bake Pumpkin Lush Recipe
Step 1: Craft the Perfect Gingersnap Crust
Start by lining an 8×8-inch pan with parchment paper—this step is a game-changer because it makes lifting the dessert out later so much easier. Next, melt your butter in a small bowl and combine it with crushed gingersnap cookie crumbs until they resemble wet sand. Pat this mixture firmly and evenly into the pan. Don’t rush here—a well-packed crust holds together wonderfully and won’t crumble when you slice the bars. Pop it into the freezer to firm up while you prepare the next layers.
Step 2: Whip Up That Dreamy Pumpkin Pudding Layer
In a separate bowl, whisk the pumpkin spice pudding mix into the cold milk until smooth, then let it chill in the fridge for at least 10 minutes. You’re aiming for a thick, luscious consistency—not liquidy but not too stiff either. This chilling step can’t be skipped—it helps the pudding set just right for layering.
Step 3: Make the Creamy Pumpkin Cheese Layer
Now, beat your room temperature cream cheese until it’s perfectly smooth and free of lumps—this makes all the difference to a silky texture. Add in the confectioners’ sugar, pumpkin puree, vanilla extract, and pumpkin spice, mixing gently but thoroughly. Finally, fold in one cup of Cool Whip to lighten this mixture into a fluffy dream. Take your time here to get a smooth blend with no streaks.
Step 4: Assembly & Chill Time
Dollop the pumpkin cream cheese layer atop the frozen crust and spread evenly all the way to the edges. Next, gently spread the chilled pudding layer on top of that, followed by a generous layer of the remaining Cool Whip. Cover and refrigerate for at least 4 hours, or overnight if you can wait—this lets the flavors marry and the layers firm up perfectly. If you’re needing it faster, freezing for about an hour and a half works too, but I’m a big fan of the slow chill for texture.
Step 5: Finishing Touches
Just before serving, sprinkle with chopped pecans and extra crushed gingersnap cookies if you like a little extra crunch and visual appeal. These little touches make the dessert pop and add a lovely contrast to those creamy layers.
Tips from My Kitchen
- Perfect Crust Packing: Press the gingersnap crumbs firmly but not too thin—this keeps it sturdy and flavorful.
- Cream Cheese Temperature Matters: Let it sit out for at least 30 minutes so it blends smoothly without lumps.
- Chill, Don’t Skip: The longer you let it chill, the better the layers set, making slicing much cleaner.
- Avoid Overmixing Pudding: Whisk just until combined to keep the texture silky and avoid separation.
How to Serve No Bake Pumpkin Lush Recipe
Garnishes
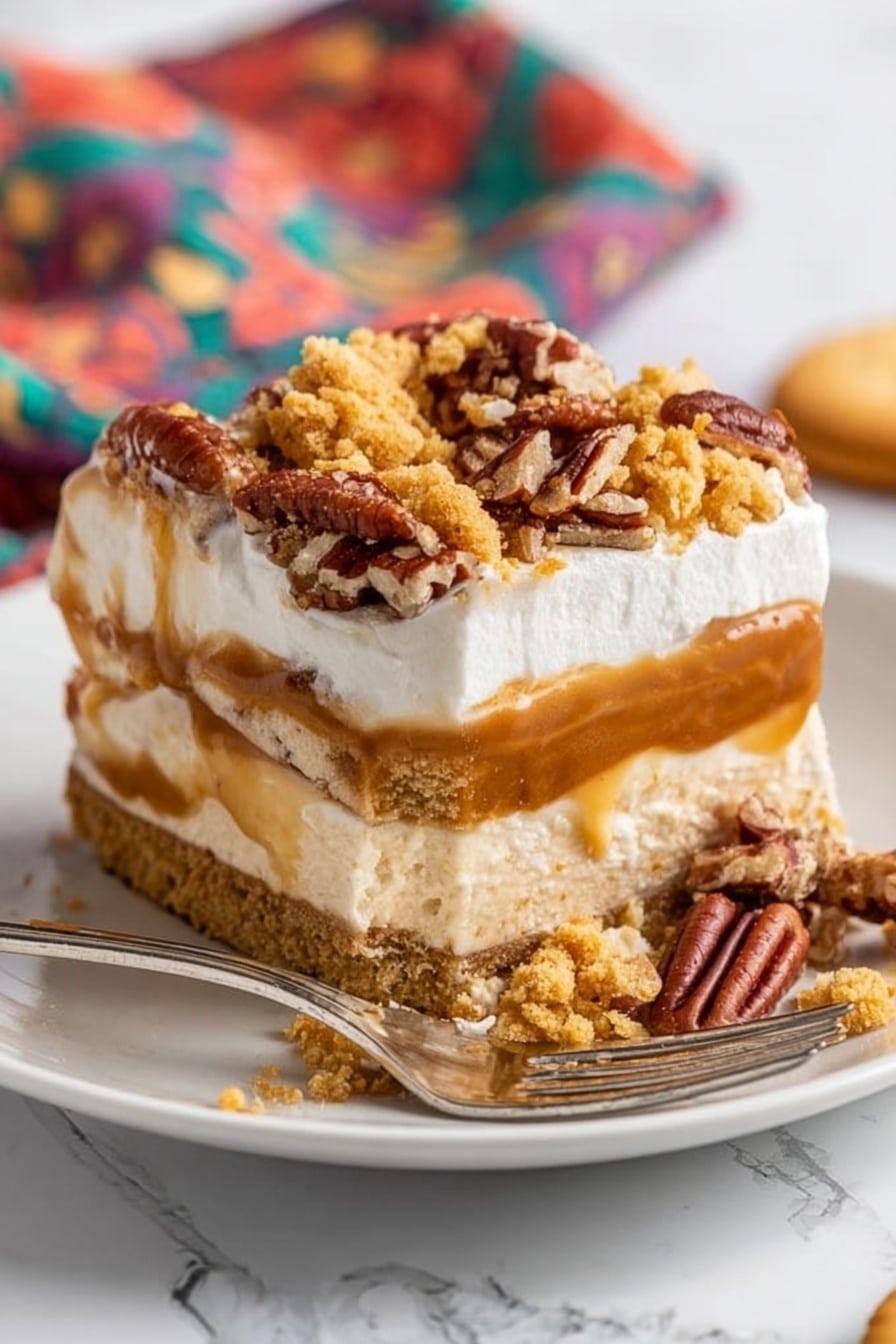
I always top mine with chopped toasted pecans and a little extra crushed gingersnap cookie crumbs—it adds a satisfying texture and a little extra ginger kiss on top. Sometimes, I’ll also sprinkle a tiny hint of cinnamon or drizzle a touch of caramel sauce for that extra “wow” factor when guests come over.
Side Dishes
This No Bake Pumpkin Lush pairs beautifully with a hot cup of coffee or chai tea, making it ideal for brunch or an afternoon treat. If I’m serving it as dessert, I like to keep it light and simple with fresh fruit or a scoop of vanilla ice cream on the side.
Creative Ways to Present
For holiday gatherings, I’ve made this recipe in a trifle bowl instead of a pan, layering everything beautifully with visible layers. It’s an easy way to dress it up and show off those gorgeous textures. You can also cut into small bite-sized bars for party platters—super popular at potlucks!
Make Ahead and Storage
Storing Leftovers
Once assembled, this No Bake Pumpkin Lush can be kept covered in the refrigerator for up to 4-5 days. I find that it actually tastes better after a day or two because the flavors meld together. Just be sure to keep it tightly covered to avoid absorption of other fridge smells.
Freezing
I’ve frozen it a couple times for longer storage by wrapping the pan tightly with plastic wrap and foil. When thawed overnight in the fridge, the texture stays surprisingly good, though it’s best eaten within a month for freshest flavor.
Reheating
This dessert is best served chilled, so I generally don’t reheat it. If you want it a bit softer, just let it sit at room temperature for 10-15 minutes before serving. The layers will loosen up slightly and tastes just as delicious.
FAQs
-
Can I use regular pumpkin pie spice instead of pumpkin spice pudding mix?
Yes! If you can’t find pumpkin spice pudding mix, you can use butterscotch pudding instead and add pumpkin pie spice or your own mix of cinnamon, nutmeg, and cloves for flavor. Just make sure to adjust the seasoning to your taste.
-
Is it necessary to chill the layers for several hours?
Chilling is crucial because it allows the crust to set firmly and the pudding and cream cheese layers to meld properly. While you can freeze the dessert for faster results, the texture and flavor are best after a longer chill.
-
Can I make this recipe ahead for a party?
Absolutely! This is a fantastic make-ahead dessert. Prepare it a day or two in advance and keep it refrigerated, so the flavors develop and it’s perfectly set when party time arrives.
-
What can I substitute for Cool Whip?
You can use homemade whipped cream or any store-bought whipped topping that you prefer. Just make sure it’s stable enough to hold the layers together well without melting too quickly.
-
Can I make individual servings?
Yes! Layer the ingredients in small jars or dessert cups for cute, individual servings. Just follow the same layer order and chill until set.
Final Thoughts
This No Bake Pumpkin Lush Recipe holds a special place in my heart because it’s one of those effortless desserts that looks fancy but comes together in a snap. It’s perfect for busy days when you want impressive fall flavors without the oven heat. So give it a try—you’ll enjoy the creamy layers, the spicy crunchy crust, and the joy of sharing a no-fail pumpkin dessert that everyone raves about. I’m confident this will become your fall favorite too!
Print
No Bake Pumpkin Lush Recipe
- Prep Time: 45 minutes
- Cook Time: 0 minutes
- Total Time: 4 hours 45 minutes
- Yield: 9 servings
- Category: Dessert
- Method: No-Cook
- Cuisine: American
Description
No Bake Pumpkin Lush is a creamy, layered pumpkin dessert featuring a gingersnap cookie crust, pumpkin spice pudding, and a rich pumpkin cream cheese layer topped with cool whip and pecans. It’s an easy, no-bake treat perfect for fall celebrations and pumpkin lovers.
Ingredients
Crust
- 1 ⅓ cups crushed Gingersnap cookie crumbs (about 25 cookies depending on size)
- 5 tablespoons unsalted butter
Pudding Layer
- 3.4 ounce package Pumpkin Spice Pudding Mix (can substitute butterscotch pudding)
- 1 ½ cups milk
Pumpkin Cream Cheese Layer
- 6 ounces cream cheese, room temperature
- ½ cup confectioners’ sugar
- ¼ cup pure pumpkin puree
- ½ teaspoon pure vanilla extract
- ¾ teaspoon pumpkin spice
- 1 cup Cool Whip (divided total of 8 ounces)
Topping
- Chopped pecans (optional)
- Additional crushed Gingersnap cookies (optional)
Instructions
- Prepare the crust: Line an 8×8-inch baking pan with parchment paper for easy removal. Melt the butter in a small bowl and mix in the crushed gingersnap cookie crumbs until fully combined. Press the mixture evenly into the bottom of the pan and place in the freezer for at least 30 minutes to harden.
- Make the pudding layer: In a medium bowl, whisk together the pumpkin spice pudding mix and 1 ½ cups milk until smooth. Refrigerate for at least 10 minutes to set.
- Prepare the pumpkin cream cheese layer: Beat the cream cheese in a mixing bowl until smooth. Add the confectioners’ sugar, pumpkin puree, vanilla extract, and pumpkin spice; mix to combine. Gently fold in 1 cup of Cool Whip with a rubber spatula until fully incorporated.
- Assemble the dessert: Remove the crust from the freezer and spread the pumpkin cream cheese layer evenly over it. Next, spread the chilled pudding layer evenly on top of the cream cheese. Finally, cover with the remaining Cool Whip, smoothing it over the top.
- Chill the dessert: Refrigerate the assembled pumpkin lush for at least 4 hours or overnight for best results. Alternatively, freeze it for 1 hour and 30 minutes to speed up setting.
- Add toppings and serve: Before serving, sprinkle chopped pecans and extra crushed gingersnap cookies on top, if desired, for added texture and flavor.
Notes
- Pumpkin Spice Pudding mix can be found at Walmart or on Amazon; if unavailable, butterscotch pudding is a suitable substitute.
- Chilling the dessert overnight yields the best texture and flavor combination.
- Using parchment paper makes it easier to lift and slice the pumpkin lush bars cleanly.
- For a dairy-free alternative, try substituting cream cheese and Cool Whip with dairy-free versions.
- Store leftovers covered in the refrigerator for up to 3 days for optimal freshness.
Nutrition
- Serving Size: 1 bar (based on 9 servings)
- Calories: 320 kcal
- Sugar: 20 g
- Sodium: 150 mg
- Fat: 18 g
- Saturated Fat: 8 g
- Unsaturated Fat: 8 g
- Trans Fat: 0 g
- Carbohydrates: 35 g
- Fiber: 1 g
- Protein: 3 g
- Cholesterol: 35 mg

