Leftover Halloween Candy Cookies Recipe
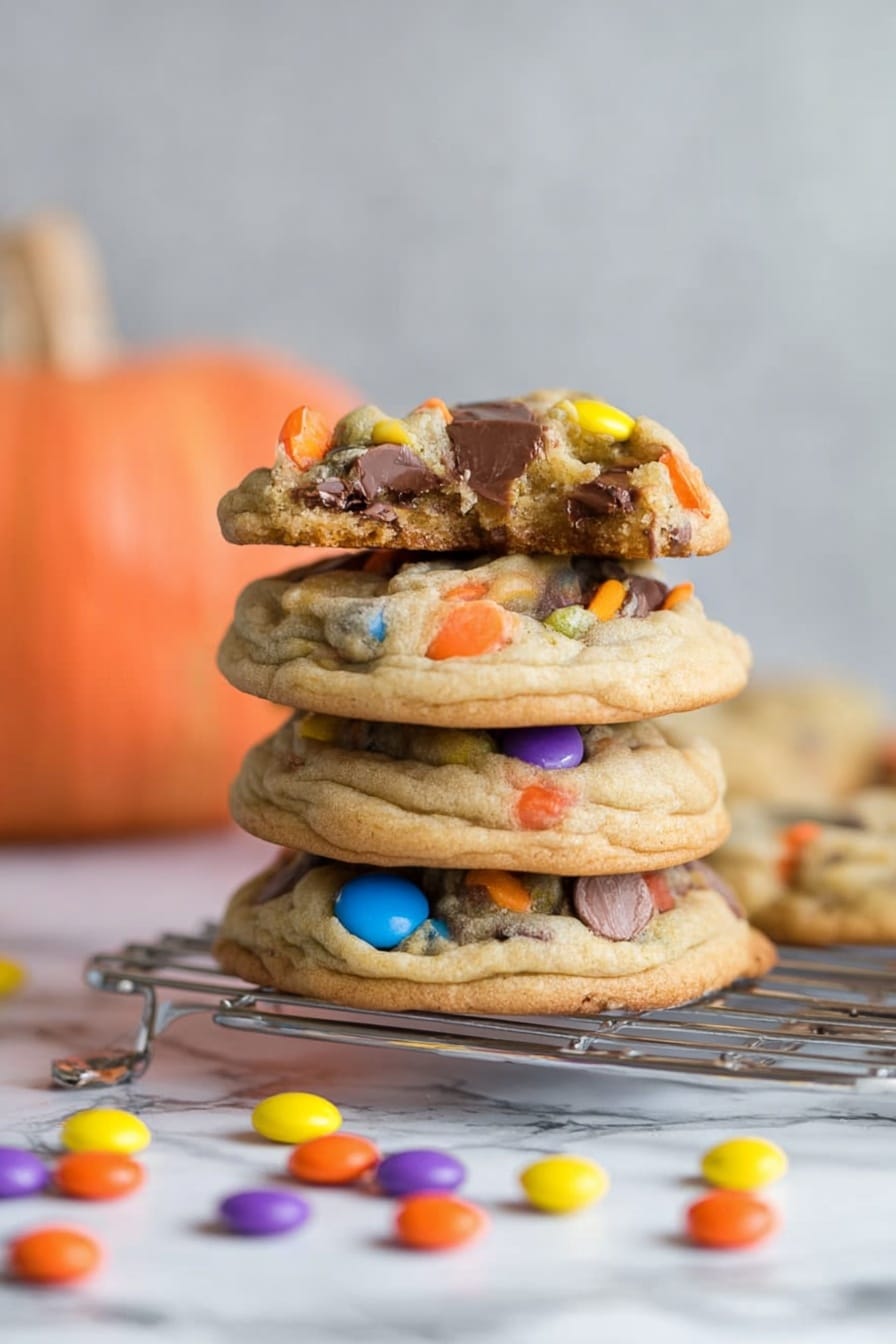
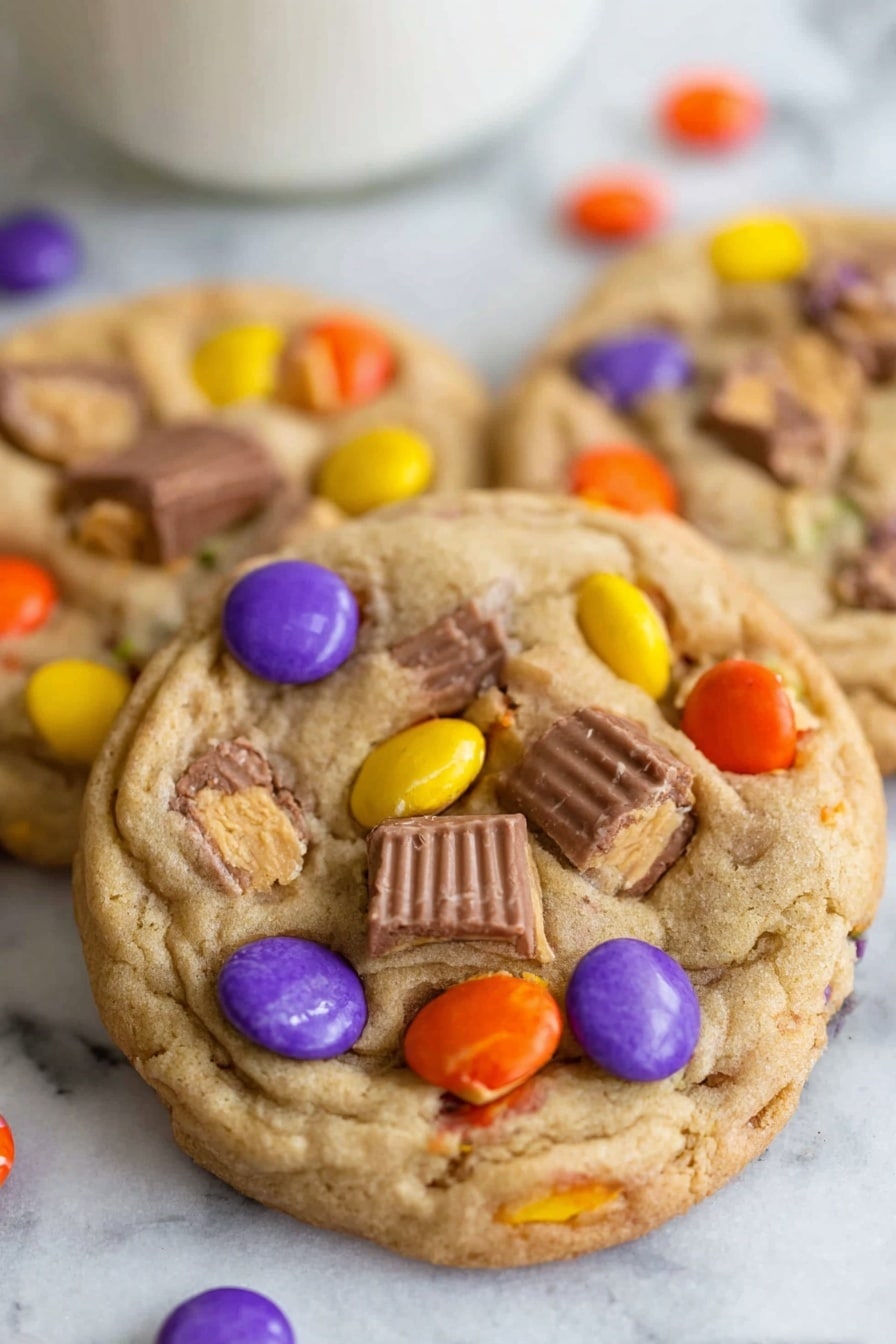
If you’re anything like me, by the end of October you’ve got a stash of leftover candy that’s just begging for a delicious makeover. That’s why I’m excited to share this Leftover Halloween Candy Cookies Recipe—it’s an absolute game-changer! Imagine soft, chewy cookies bursting with colorful bits of your favorite candy that didn’t get gobbled up on Halloween night. Trust me, these cookies are fan-freaking-tastic and such a fun, easy way to transform leftover sweets into a treat everyone will enjoy.
Why This Recipe Works
- Candy Remix Magic: Your leftover Halloween candy melts into pockets of sweetness and crunch, making every bite exciting and unique.
- Simple Pantry Staples: Uses basic baking ingredients you likely already have, so no need for a special trip to the store.
- Chewy & Soft Texture: Incorporating cornstarch and chilling dough ensures cookies that stay perfectly chewy without turning into flat disks.
- Flexible & Fun: You can customize with whatever candy you have—chocolate, caramel, gummies—you name it.
Ingredients & Why They Work
The secret to these Leftover Halloween Candy Cookies Recipe lies in balancing buttery richness with the playful burst of candy pieces, while maintaining a soft cookie base. Plus, I’ll share tips to pick your candy wisely and keep your dough just right.
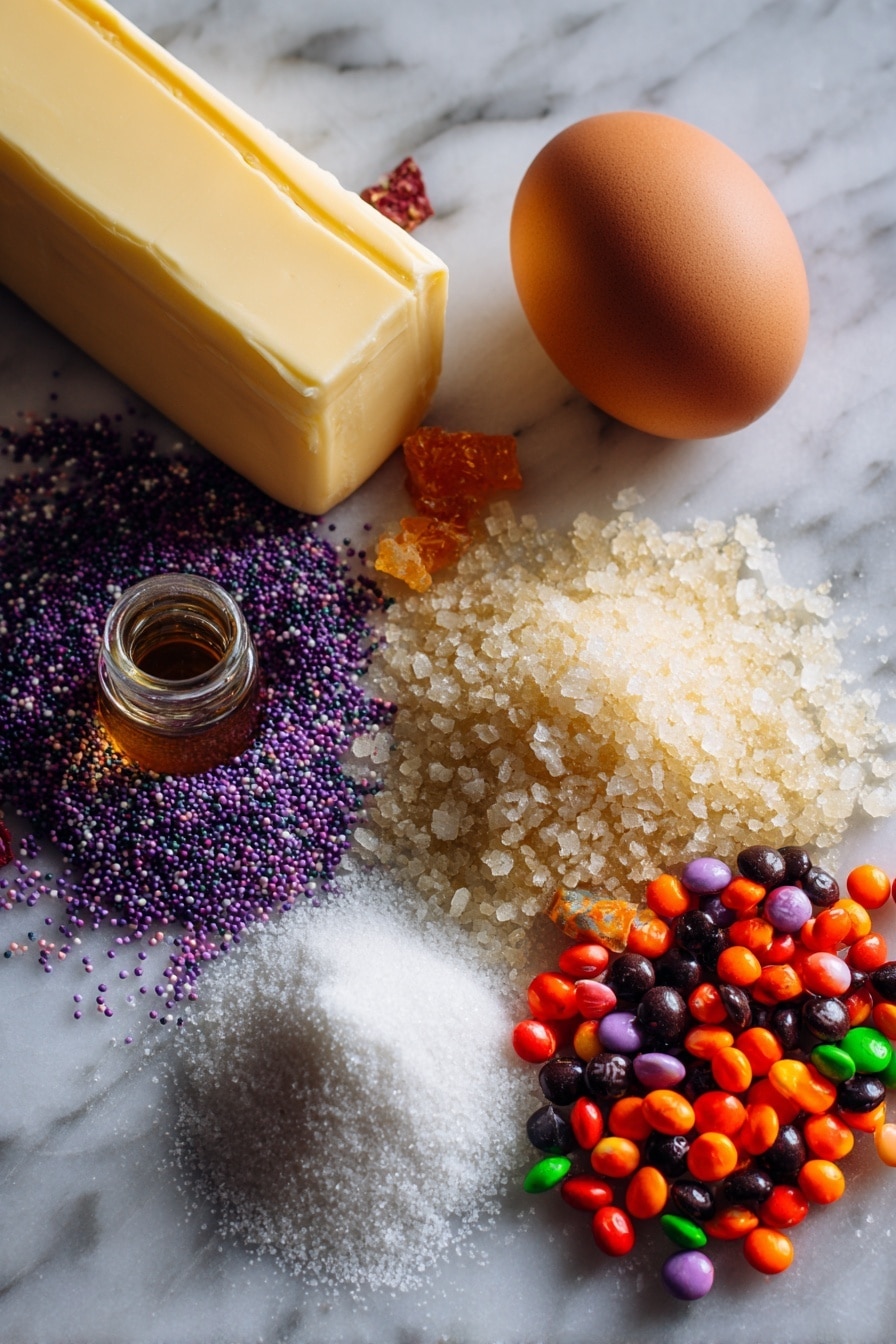
- Butter: I always use unsalted butter—it gives great flavor and helps control salt levels.
- Brown Sugar: Adds moisture and a slight molasses depth that keeps your cookies lovely and chewy.
- Granulated Sugar: Balances sweetness and helps with slight crisping on the edges.
- Egg (room temperature): Key for binding your dough and creating soft structure.
- Vanilla Extract: My secret weapon for adding warm, comforting aroma.
- Water (room temperature): Helps dough combine smoothly without drying out.
- Flour: The backbone of your cookies—using all-purpose works perfectly here.
- Cornstarch: This little addition keeps the cookies tender and soft—don’t skip it!
- Baking Soda: Gives a gentle lift and helps with browning.
- Salt: Balances sweetness and enhances all flavors.
- Leftover Halloween Candy (chopped): The star of the show—pick a mix of chocolates, caramels, or candy bits without too much liquid or coating, so they melt just right without making cookies greasy.
Make It Your Way
I love how versatile this Leftover Halloween Candy Cookies Recipe is—I’ve played around with different candy combos and add-ins to keep things fresh. Feel free to tweak the candy mix to suit what you like best or what’s leftover at your house.
- Chocolate Lover’s Version: I swap in extra chocolate chunks and mini peanut butter cups, and it’s an absolute hit with my family.
- Nut-Free Variation: Avoid peanut or almond candies and stick with gummies and plain chocolates to keep it allergy-friendly.
- Spiced Twist: I sometimes add a sprinkle of cinnamon or pumpkin pie spice to bring a fall vibe when Halloween winds down.
- Gluten-Free Swap: Use a gluten-free flour blend to make these safe for friends with sensitivities—just check your candy ingredients too.
Step-by-Step: How I Make Leftover Halloween Candy Cookies Recipe
Step 1: Prep Your Oven & Dry Ingredients
First thing, preheat your oven to 350°F (175°C) and line a baking sheet with parchment paper—this ensures your cookies don’t stick and helps with even baking. Next, grab a medium bowl and whisk together your flour, cornstarch, baking soda, and salt until everything is well mixed. This step makes sure your cookies rise nicely and gives that tender texture we’re after.
Step 2: Cream Butter & Sugars Until Fluffy
Using a stand mixer fitted with the paddle attachment (or a hand mixer works great too), beat your room-temp butter with both the brown and granulated sugar. You want to mix on medium-high for a few minutes until the blend is light, airy, and fluffy—it almost looks like frosting. This step is key for the texture of the cookie, so don’t rush it!
Step 3: Add Wet Ingredients & Mix Gently
Next, add in the egg, water, and vanilla extract, mixing just until everything is combined—about 30 seconds to a minute. Overmixing at this stage can make cookies tough, so it’s better to stop as soon as you see a consistent color.
Step 4: Blend in Dry Ingredients & Candy
Now, slowly add your dry mixture into the butter mixture on a low speed, mixing just until no flour streaks remain. Then, fold in your chopped leftover Halloween candy with a spatula—this part is so fun because you get to see all the colorful bits meld into the dough. A quick heads-up: Don’t overmix here, or you’ll crush the candy chunks too much.
Step 5: Chill and Shape
Use an ice cream scooper to portion out 10 equal dough balls and place them spaced apart on your parchment-lined sheet. Pop the tray into the fridge for 10-15 minutes to chill the dough. This little chill is a trick I learned after some flat cookie failures—it stops the dough from spreading too much and helps cookies keep a nice thickness.
Step 6: Bake and Cool
Bake for about 12-14 minutes, until the edges look set but the centers might still seem a bit undercooked. Don’t worry—that residual heat finishes the job. Let the cookies rest on the baking sheet for 5-10 minutes before moving them to a wire rack to cool completely. This gives them the perfect chewy texture and lets all those flavors settle beautifully.
Tips from My Kitchen
- Candy Selection Matters: I avoid candies with heavy caramel or coconut centers that get too gooey and make the dough greasy.
- Room Temperature Ingredients: Ensuring your egg and water are room temp helps your dough come together smoothly and bake evenly.
- Chill for Thickness: Chilling the dough is my go-to for preventing flat cookies; it’s worth those extra 10 minutes.
- Watch Your Bake Time: Pull cookies out when edges are firm but centers still look soft—you want that tender chew!
How to Serve Leftover Halloween Candy Cookies Recipe
Garnishes
I usually enjoy these cookies as they are because the candy adds plenty of fun. But when I’m feeling fancy, I sprinkle a tiny pinch of flaky sea salt on top right after baking—that touch of salt beautifully balances the sweetness and amps up the flavors even more.
Side Dishes
These cookies are perfect with a cold glass of milk or a warm cup of vanilla chai tea. For parties, I like putting out a platter with fresh fruit and nuts alongside these candies-in-cookie form to offer a little balance to the sweetness.
Creative Ways to Present
When I’ve served these at Halloween cleanup gatherings, I arrange them on a tiered dessert stand lined with colorful napkins, and toss in some leftover candy as decoration. Kids love picking through the cookies to spot their favorite candies. You could also package them in cellophane bags tied with fun ribbons for easy gifting.
Make Ahead and Storage
Storing Leftovers
I keep leftover cookies in an airtight container at room temperature for up to 4 days. To keep them soft, I toss in a slice of bread—it sounds old school but really works by absorbing moisture and keeping cookies chewy. I’ve found this trick saves cookies from drying out overnight.
Freezing
These cookies freeze wonderfully! Just freeze them on a tray first, then transfer to a freezer bag or container. They keep well for up to 2 months. When I want a quick treat, I grab one straight from the freezer and let it thaw on the counter for about 15 minutes—it tastes like freshly baked.
Reheating
To warm up leftover or frozen cookies, I pop them in the microwave for 10-15 seconds or heat in a 300°F oven for 5 minutes wrapped loosely in foil. This refreshes the softness and makes the candy just melt a little bit again—the ultimate cozy cookie moment.
FAQs
-
Can I use any type of leftover Halloween candy in this recipe?
You can use most types, but I recommend avoiding candies with heavy caramel or cream fillings that can melt too much and make the dough greasy. Chocolate, peanut butter cups, candy-coated chocolates, and gummies work best when chopped into small pieces.
-
Do I need to chill the cookie dough before baking?
Yes! Chilling the dough for 10-15 minutes helps prevent the cookies from spreading too much, keeping them thick and chewy. It’s a small step that makes a big difference in texture.
-
Can I make these cookies dairy-free or gluten-free?
You can substitute dairy-free butter and a gluten-free all-purpose flour blend to make these cookies fit your diet. Just double-check your leftover candies for any hidden dairy or gluten ingredients.
-
How do I store leftover Halloween candy cookies?
Store in an airtight container at room temperature for up to 4 days. Adding a slice of bread inside the container helps keep them soft and fresh.
Final Thoughts
This Leftover Halloween Candy Cookies Recipe isn’t just a smart way to avoid candy waste; it’s genuinely one of my favorite quick bakes to share with friends and family post-Halloween. The way the candy adds surprise bursts of flavor and texture makes these cookies feel special every time I bake them. I hope you give this recipe a try—you might just find it becoming a new seasonal tradition in your kitchen too!
Print
Leftover Halloween Candy Cookies Recipe
- Prep Time: 15 minutes
- Cook Time: 14 minutes
- Total Time: 30 minutes
- Yield: 10 large cookies
- Category: Dessert
- Method: Baking
- Cuisine: American
Description
Delight in these chewy Leftover Halloween Candy Cookies that transform your festive candy stash into a delicious treat. Soft, buttery cookies loaded with chopped candy pieces make the perfect post-Halloween indulgence that’s easy to prepare and bake.
Ingredients
Dry Ingredients
- 1 1/2 cup flour
- 2 tsp cornstarch
- 1 tsp baking soda
- 1/2 tsp salt
Wet Ingredients
- 1 stick butter
- 1/2 cup brown sugar
- 3 tbsp white granulated sugar
- 1 egg, room temperature
- 2 tsp vanilla extract
- 1 tbsp water, room temperature
Add-ins
- 1 1/2 cup leftover Halloween candy, chopped
Instructions
- Preheat and Prepare: Preheat your oven to 350°F. Line a baking sheet with parchment paper and set aside.
- Mix Dry Ingredients: In a medium bowl, whisk together the flour, cornstarch, baking soda, and salt until evenly combined. Set aside.
- Cream Butter and Sugars: In a stand mixer bowl fitted with a paddle attachment, cream the butter, brown sugar, and granulated sugar on medium-high speed until light and fluffy, about 2-3 minutes. Alternatively, use a hand mixer.
- Add Egg and Flavorings: Add the egg, water, and vanilla extract to the creamed mixture and mix just until combined, about 30 seconds to 1 minute.
- Incorporate Dry Ingredients: Add the dry ingredients to the wet mixture and beat on medium-low speed just until combined. Avoid overmixing the dough.
- Fold in Candy: Gently fold in the chopped leftover Halloween candy until evenly distributed throughout the dough.
- Shape and Chill Dough: Using an ice cream scooper, form the dough into 10 equally sized balls and place them on the parchment-lined baking sheet. Chill in the refrigerator for 15 minutes to prevent the cookies from spreading too much during baking.
- Bake: Bake the cookies for 14 minutes or until the edges are set. The centers may look slightly undercooked but will firm up as they cool.
- Cool: Let the cookies cool on the baking sheet for 5-10 minutes before transferring them to a wire rack to cool completely.
Notes
- These cookies taste even better a few hours after baking as the flavors meld together.
- Chilling the dough before baking helps keep the cookies from spreading too thin and becoming flat.
- You can substitute leftover candy with your favorite mix-ins like chocolate chips or nuts if preferred.
- Use room temperature egg and water for better dough consistency.
Nutrition
- Serving Size: 1 cookie
- Calories: 180 kcal
- Sugar: 14 g
- Sodium: 120 mg
- Fat: 8 g
- Saturated Fat: 5 g
- Unsaturated Fat: 3 g
- Trans Fat: 0 g
- Carbohydrates: 24 g
- Fiber: 1 g
- Protein: 2 g
- Cholesterol: 35 mg

