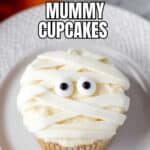
Halloween Mummy Cupcakes Recipe
If you’re searching for a fun, spooky treat that’s surprisingly easy to make, you’re in for a real treat with this Halloween Mummy Cupcakes Recipe. These adorable, creepy-cute cupcakes are perfect for parties, school events, or just a delightful snack to get you into the Halloween spirit. I’ve made these for a few get-togethers, and trust me—they’re a hit every single time. Let me walk you through how simple and satisfying this Halloween Mummy Cupcakes Recipe is, so you can wow your friends and family this season.
Why This Recipe Works
- Simple and Quick: Takes only about 15 minutes to turn a basic cupcake into a festive mummy masterpiece.
- Customizable: You can use your favorite cupcake base and frosting flavors — chocolate, vanilla, red velvet… the choice is yours!
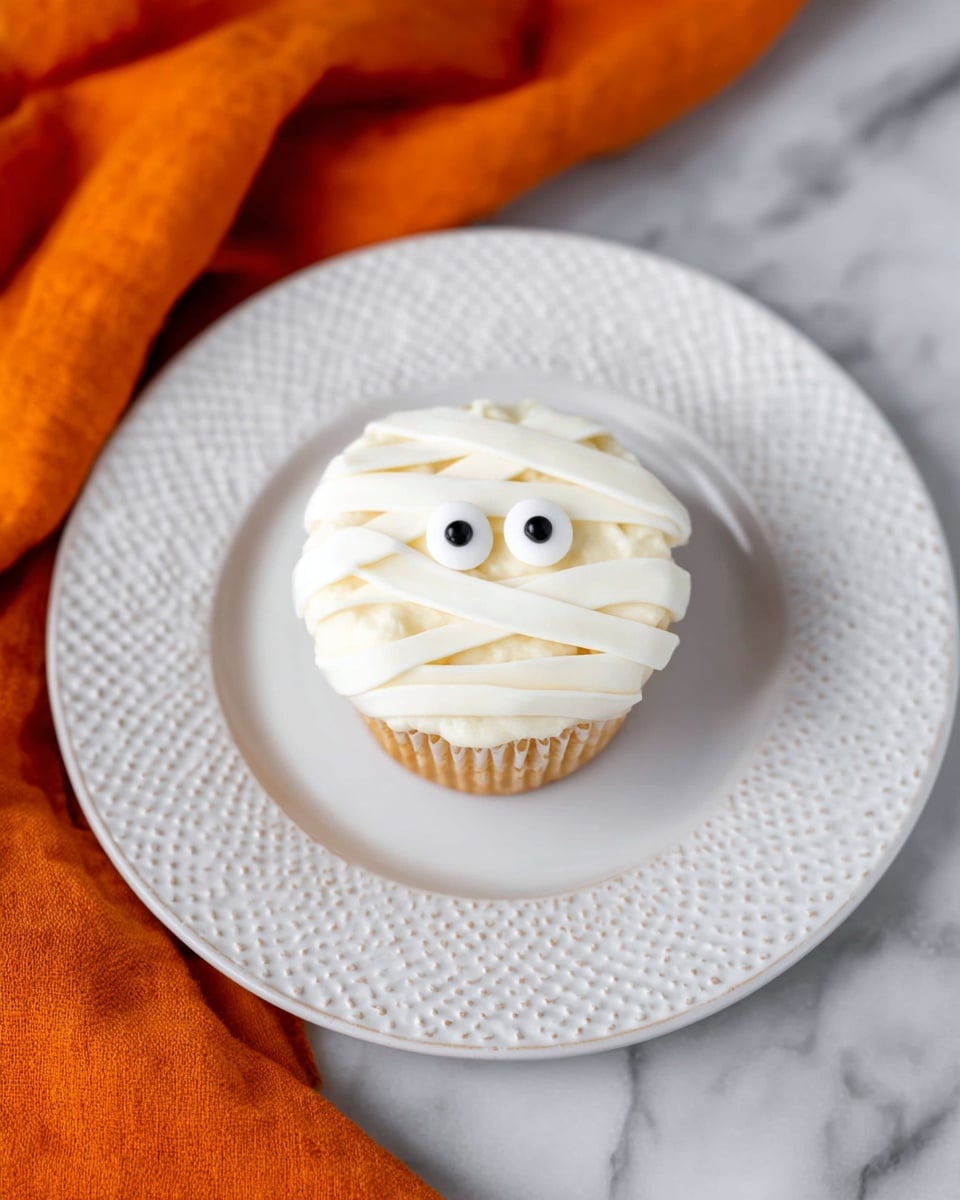
- Visually Striking: The piping technique with the basketweave tip adds cool mummy bandage texture that looks impressive but is easy to master.
- Kid-Friendly Fun: Great for baking with kids or for classroom treats — safe, fun, and not too messy.
Ingredients & Why They Work
Great Halloween Mummy Cupcakes come down to a few key ingredients that complement each other beautifully. You want a sturdy cupcake base that can hold the piping and frosting without collapsing, and a smooth vanilla buttercream that’s just the right consistency for the basketweave ribbons. Plus, those royal icing eyes? They bring the whole spooky character to life.
- Your favorite cupcake recipe: Whether you whip up scratch vanilla, chocolate, or use a trusted box mix, make sure they’re fully cooled to frost easily.
- Vanilla buttercream: Smooth, creamy, and not too soft — it needs to hold its shape through the piping but still be spreadable.
- Royal icing eyes: These tiny decorations give your mummy cupcakes personality; you can find them at most baking stores or easily make your own with royal icing and a toothpick.
Make It Your Way
One of the best things about this Halloween Mummy Cupcakes Recipe is how you can totally make it your own. I like to switch up the cupcake flavors depending on seasons or what I have in my pantry, and sometimes I add a touch of cinnamon or pumpkin spice to step it up for fall. You should experiment with your favorite flavors and find what feels right for you!
- Variation: For a spooky twist, try chocolate cupcakes with orange buttercream. The contrast makes those mummy bands pop in the best way. I once made a batch with peppermint frosting, and it was a refreshing surprise.
- Dietary Changes: Use dairy-free buttercream or gluten-free cupcake mixes to cater to dietary needs without sacrificing flavor or texture.
- Kids’ Version: Swap the royal icing eyes for candy eyes or mini chocolate chips to keep it super kid-friendly and edible.
Step-by-Step: How I Make Halloween Mummy Cupcakes Recipe
Step 1: Frost Your Cupcakes Smoothly
Once your cupcakes are completely cool, grab a butter knife or a small straight spatula to spread a smooth layer of vanilla buttercream all over the top. I like to cover every bit of the cupcake top so it’s a perfect blank canvas for the mummy bandages. The smoother the frosting base, the easier it is to pipe those crisscross ribbons and get that clean mummy effect.
Step 2: Add the Spooky Eyes
Gently press in your royal icing eyes while the frosting is still soft. I usually place them slightly off-center for a more whimsical look. If your eyes don’t stick right away, let your base frosting set just a little, then attach—I found that prevents smudging or sliding.
Step 3: Pipe Your Mummy Bandages
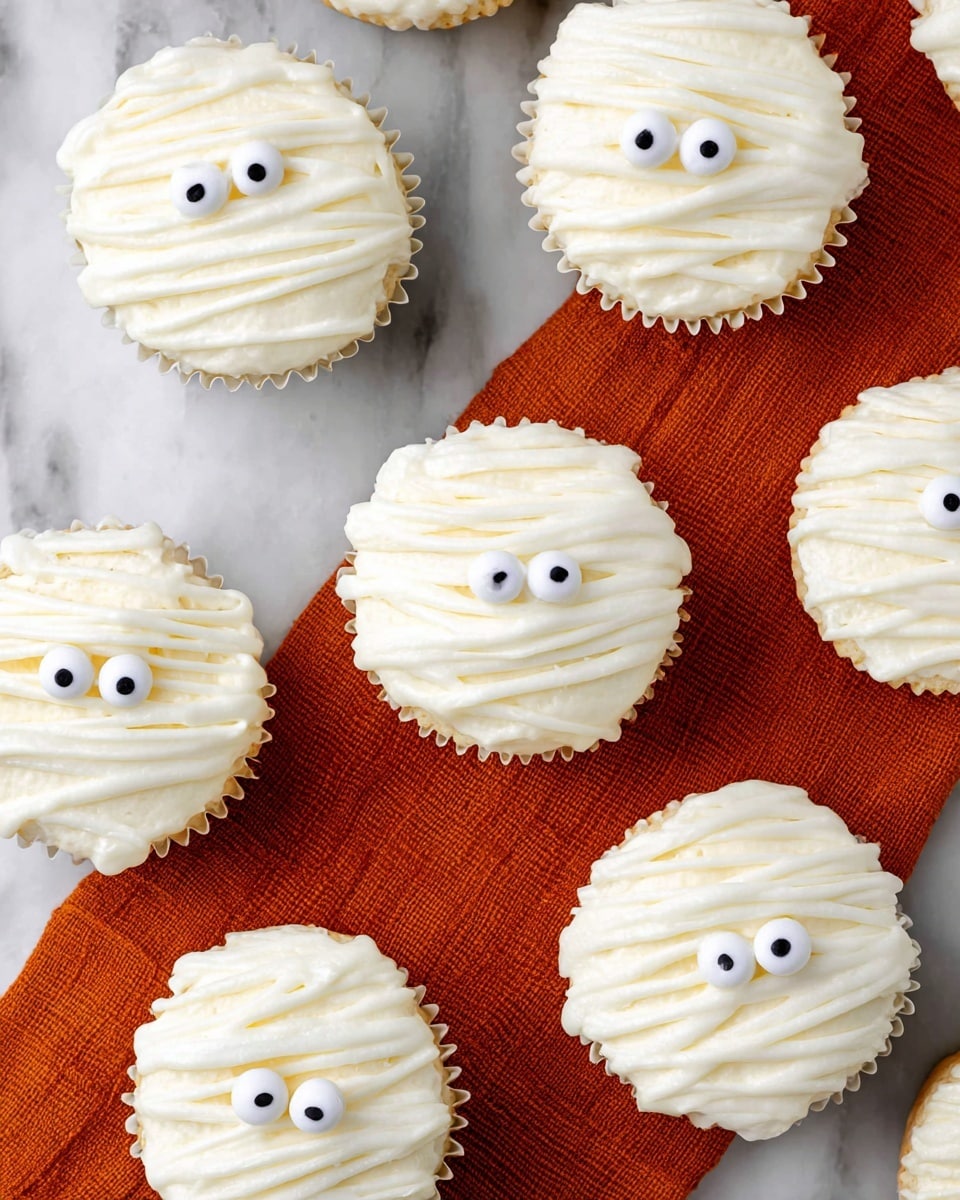
This is the fun—and most impressive—part. Fit a piping bag with a No. 44 basketweave tip and fill it with vanilla buttercream. Hold your piping bag at a slight angle and pipe flat ribbons crisscrossing over the cupcake top. Start on one side and keep layering, leaving small gaps where the eyes peek through. It helps to practice on parchment paper first if you’re nervous. Keep at it until you get the perfect mummy look—that layered bandage effect really brings these cupcakes to life.
Step 4: Enjoy Immediately or Chill
Once decorated, you can serve right away or chill in the fridge to help the frosting set if you’re preparing ahead. Just bring to room temperature before serving for the best texture!
Tips from My Kitchen
- Practice on Parchment: Before piping directly on cupcakes, try your basketweave technique on parchment paper to get the hang of spacing and pressure.
- Keep Frosting Stiff But Spreadable: If your buttercream is too soft, the “bandages” won’t hold shape; too stiff, and it’s hard to pipe smoothly.
- Use a Turntable if You Have One: Spinning slowly as you pipe helps create beautifully even ribbons without wrist strain.
- Attach Eyes While Frosting is Fresh: Don’t wait too long—placing the eyes into soft frosting ensures they adhere well and don’t shift.
How to Serve Halloween Mummy Cupcakes Recipe
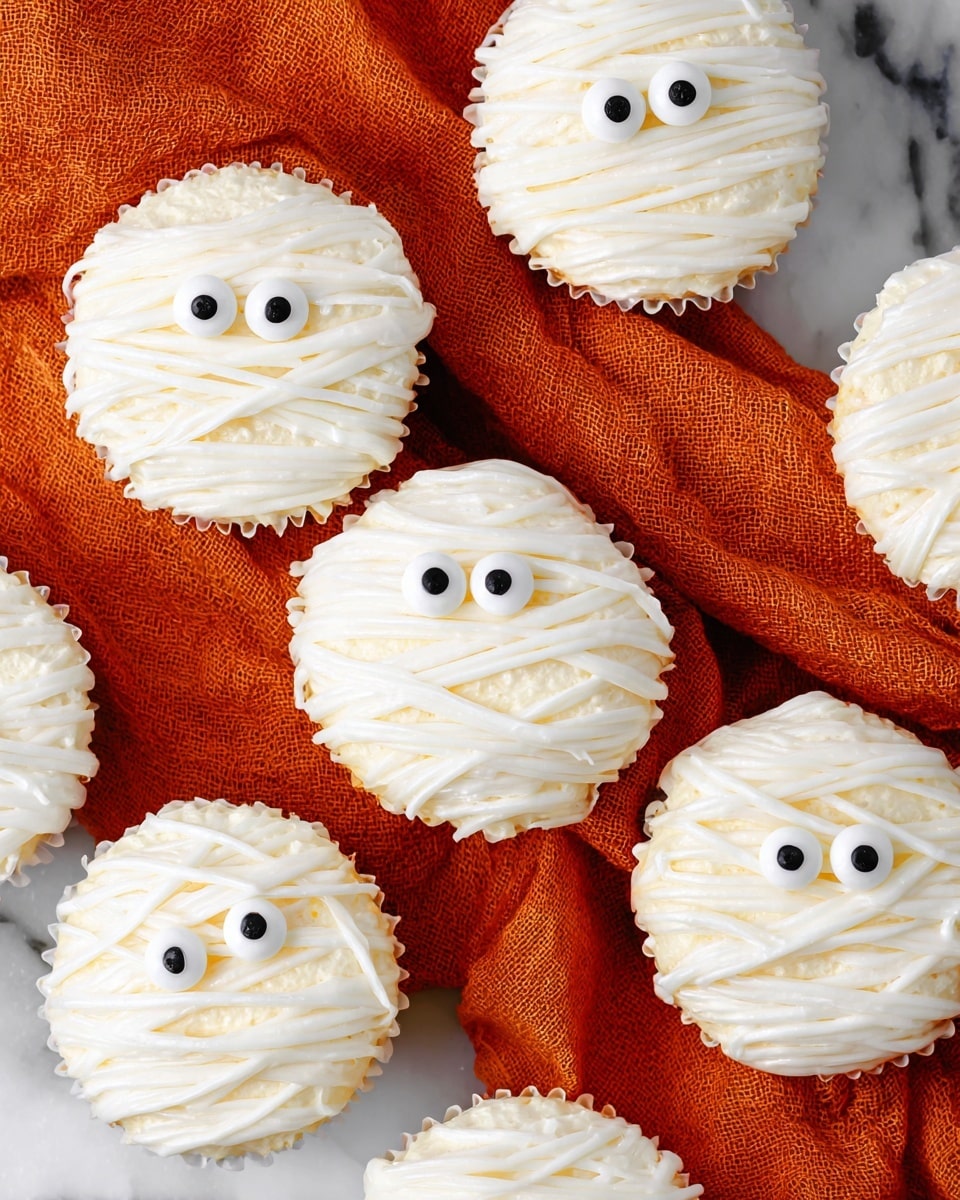
Garnishes
I usually stick with those classic royal icing eyes because they’re so iconic—but sometimes I add a tiny dab of edible glitter or orange sanding sugar on the bandages. It adds a subtle shimmer that catches the Halloween vibe just right without overpowering the mummy look.
Side Dishes
Pairing these cupcakes is easy since they’re sweet and rich. I love serving them with a big bowl of popcorn tossed in cinnamon sugar or caramel for a spooky movie night. Hot apple cider or a chilled pumpkin spice latte also complement them perfectly.
Creative Ways to Present
I’ve found that placing a group of these cupcakes on a rustic wooden board with some scattered fall leaves and mini pumpkins creates a stunning Halloween dessert display. Another fun idea is to wrap each cupcake in mini cupcake liners that look like mummy bandages, or even place them inside a faux tombstone tray for an extra spooky touch!
Make Ahead and Storage
Storing Leftovers
If you have leftovers (and I hope you do!), store the cupcakes in an airtight container in the refrigerator. This keeps the frosting fresh and prevents the cupcakes from drying out. I like to layer them carefully with parchment paper between to avoid smushing the decorated tops.
Freezing
Freezing these cupcakes is totally doable, especially if you want to prep early. Freeze unfrosted cupcakes tightly wrapped, then thaw completely before frosting and decorating. You can also freeze fully decorated cupcakes, but be mindful that delicate frosting details might be slightly compromised.
Reheating
Since these are cupcakes, reheating isn’t usually necessary, but if you want to warm them slightly, I recommend letting them come to room temperature on the counter for about 30 minutes instead of microwaving. This keeps the buttercream stable and delicious.
FAQs
-
Can I use store-bought cupcakes for this Halloween Mummy Cupcakes Recipe?
Absolutely! Store-bought cupcakes save time and work just fine, as long as they’re sturdy enough to handle frosting. Just make sure they’re completely cooled if they’re freshly baked. Then, follow the same decorating steps and you’re good to go!
-
What if I don’t have a No. 44 basketweave tip?
If you don’t have that specific tip, a flat or petal icing tip can work in a pinch—just pipe narrow ribbons of frosting and overlap them slightly. It might look a bit different, but still gets that wrapped mummy look.
-
Can I make the royal icing eyes myself?
Yes! Simply mix a small batch of royal icing, tint it white, pipe tiny round dots onto parchment paper, and add black pupils with a toothpick once semi-dry. Let them fully dry before using. It’s a fun activity, especially with kids.
-
How long will these cupcakes stay fresh?
Properly stored in an airtight container in the refrigerator, these cupcakes stay fresh for up to 3-4 days. For best flavor and texture, enjoy within that timeframe.
Final Thoughts
I honestly love this Halloween Mummy Cupcakes Recipe because it turns something as simple as cupcakes into playful little works of art that everyone enjoys eating. It’s easy enough to make on a whim but impressive enough to impress even the pickiest eaters or last-minute guests. Next Halloween, whether you’re hosting a big party or just want a festive treat for your family, give this recipe a try. I promise you’ll have fun decorating and even more fun eating!
Print
Halloween Mummy Cupcakes Recipe
- Prep Time: 15 minutes
- Cook Time: 0 minutes
- Total Time: 15 minutes
- Yield: 12 cupcakes
- Category: Dessert
- Method: No-Cook
- Cuisine: American
- Diet: Vegetarian
Description
These Halloween Mummy Cupcakes are a fun and spooky treat perfect for any Halloween celebration. Featuring your favorite cupcakes frosted with vanilla buttercream and decorated with royal icing eyes and basketweave frosting ribbons, these cupcakes are as delightful to make as they are to eat.
Ingredients
Cupcake Base
- Your favorite cupcake recipe (makes 12 cupcakes)
Frosting
- Vanilla buttercream frosting, enough to cover 12 cupcakes
Decorations
- Royal icing eyes, approximately 2 per cupcake
Instructions
- Frost the Cupcakes: Using a knife or a straight spatula, evenly frost each cooled cupcake with vanilla buttercream, covering the entire top surface completely.
- Add the Eyes: Place two royal icing eyes on each frosted cupcake to create the mummy’s eyes, positioning them spaced evenly.
- Pipe the Mummy Bandages: Fit a piping bag with a No. 44 basketweave decorating tip and fill it with vanilla buttercream. Pipe flat frosting ribbons crisscrossing over the cupcakes to resemble mummy bandages. Continue layering until you achieve the desired mummy look.
- Serve and Enjoy: Once decorated, serve the cupcakes immediately or store them in a cool place until ready to eat. Enjoy your spooky Halloween treat!
Notes
- If you don’t have royal icing eyes, you can substitute with edible candy eyes or create eyes using small dollops of white and black frosting.
- Ensure the cupcakes are completely cooled before frosting to prevent melting.
- For easier piping, chill the frosting slightly but keep it soft enough to pipe smoothly.
- You can tint the buttercream a very pale beige or gray for a more realistic mummy look.
- These cupcakes can be stored in an airtight container at room temperature for up to 2 days.
Nutrition
- Serving Size: 1 cupcake
- Calories: 250 kcal
- Sugar: 20 g
- Sodium: 150 mg
- Fat: 12 g
- Saturated Fat: 7 g
- Unsaturated Fat: 4 g
- Trans Fat: 0 g
- Carbohydrates: 32 g
- Fiber: 1 g
- Protein: 2 g
- Cholesterol: 40 mg

